Detailed Instructions for Installing and Upgrading Nvidia Drivers
Detailed Instructions for Installing and Upgrading Nvidia Drivers
When installing Nvidia drivers, pay attention to whether the motherboard has Secure Boot enabled. If enabled, the Nvidia driver will not be registered under the system's MOK (Machine Owner Key), and even if the system boots, the driver will not work. This document records a complete Nvidia installation tutorial for Linux systems (primarily Ubuntu). Windows typically does not have this issue.
1. Detailed Instructions for Downloading and Installing Nvidia
1.1 Download the .run driver file from the official website
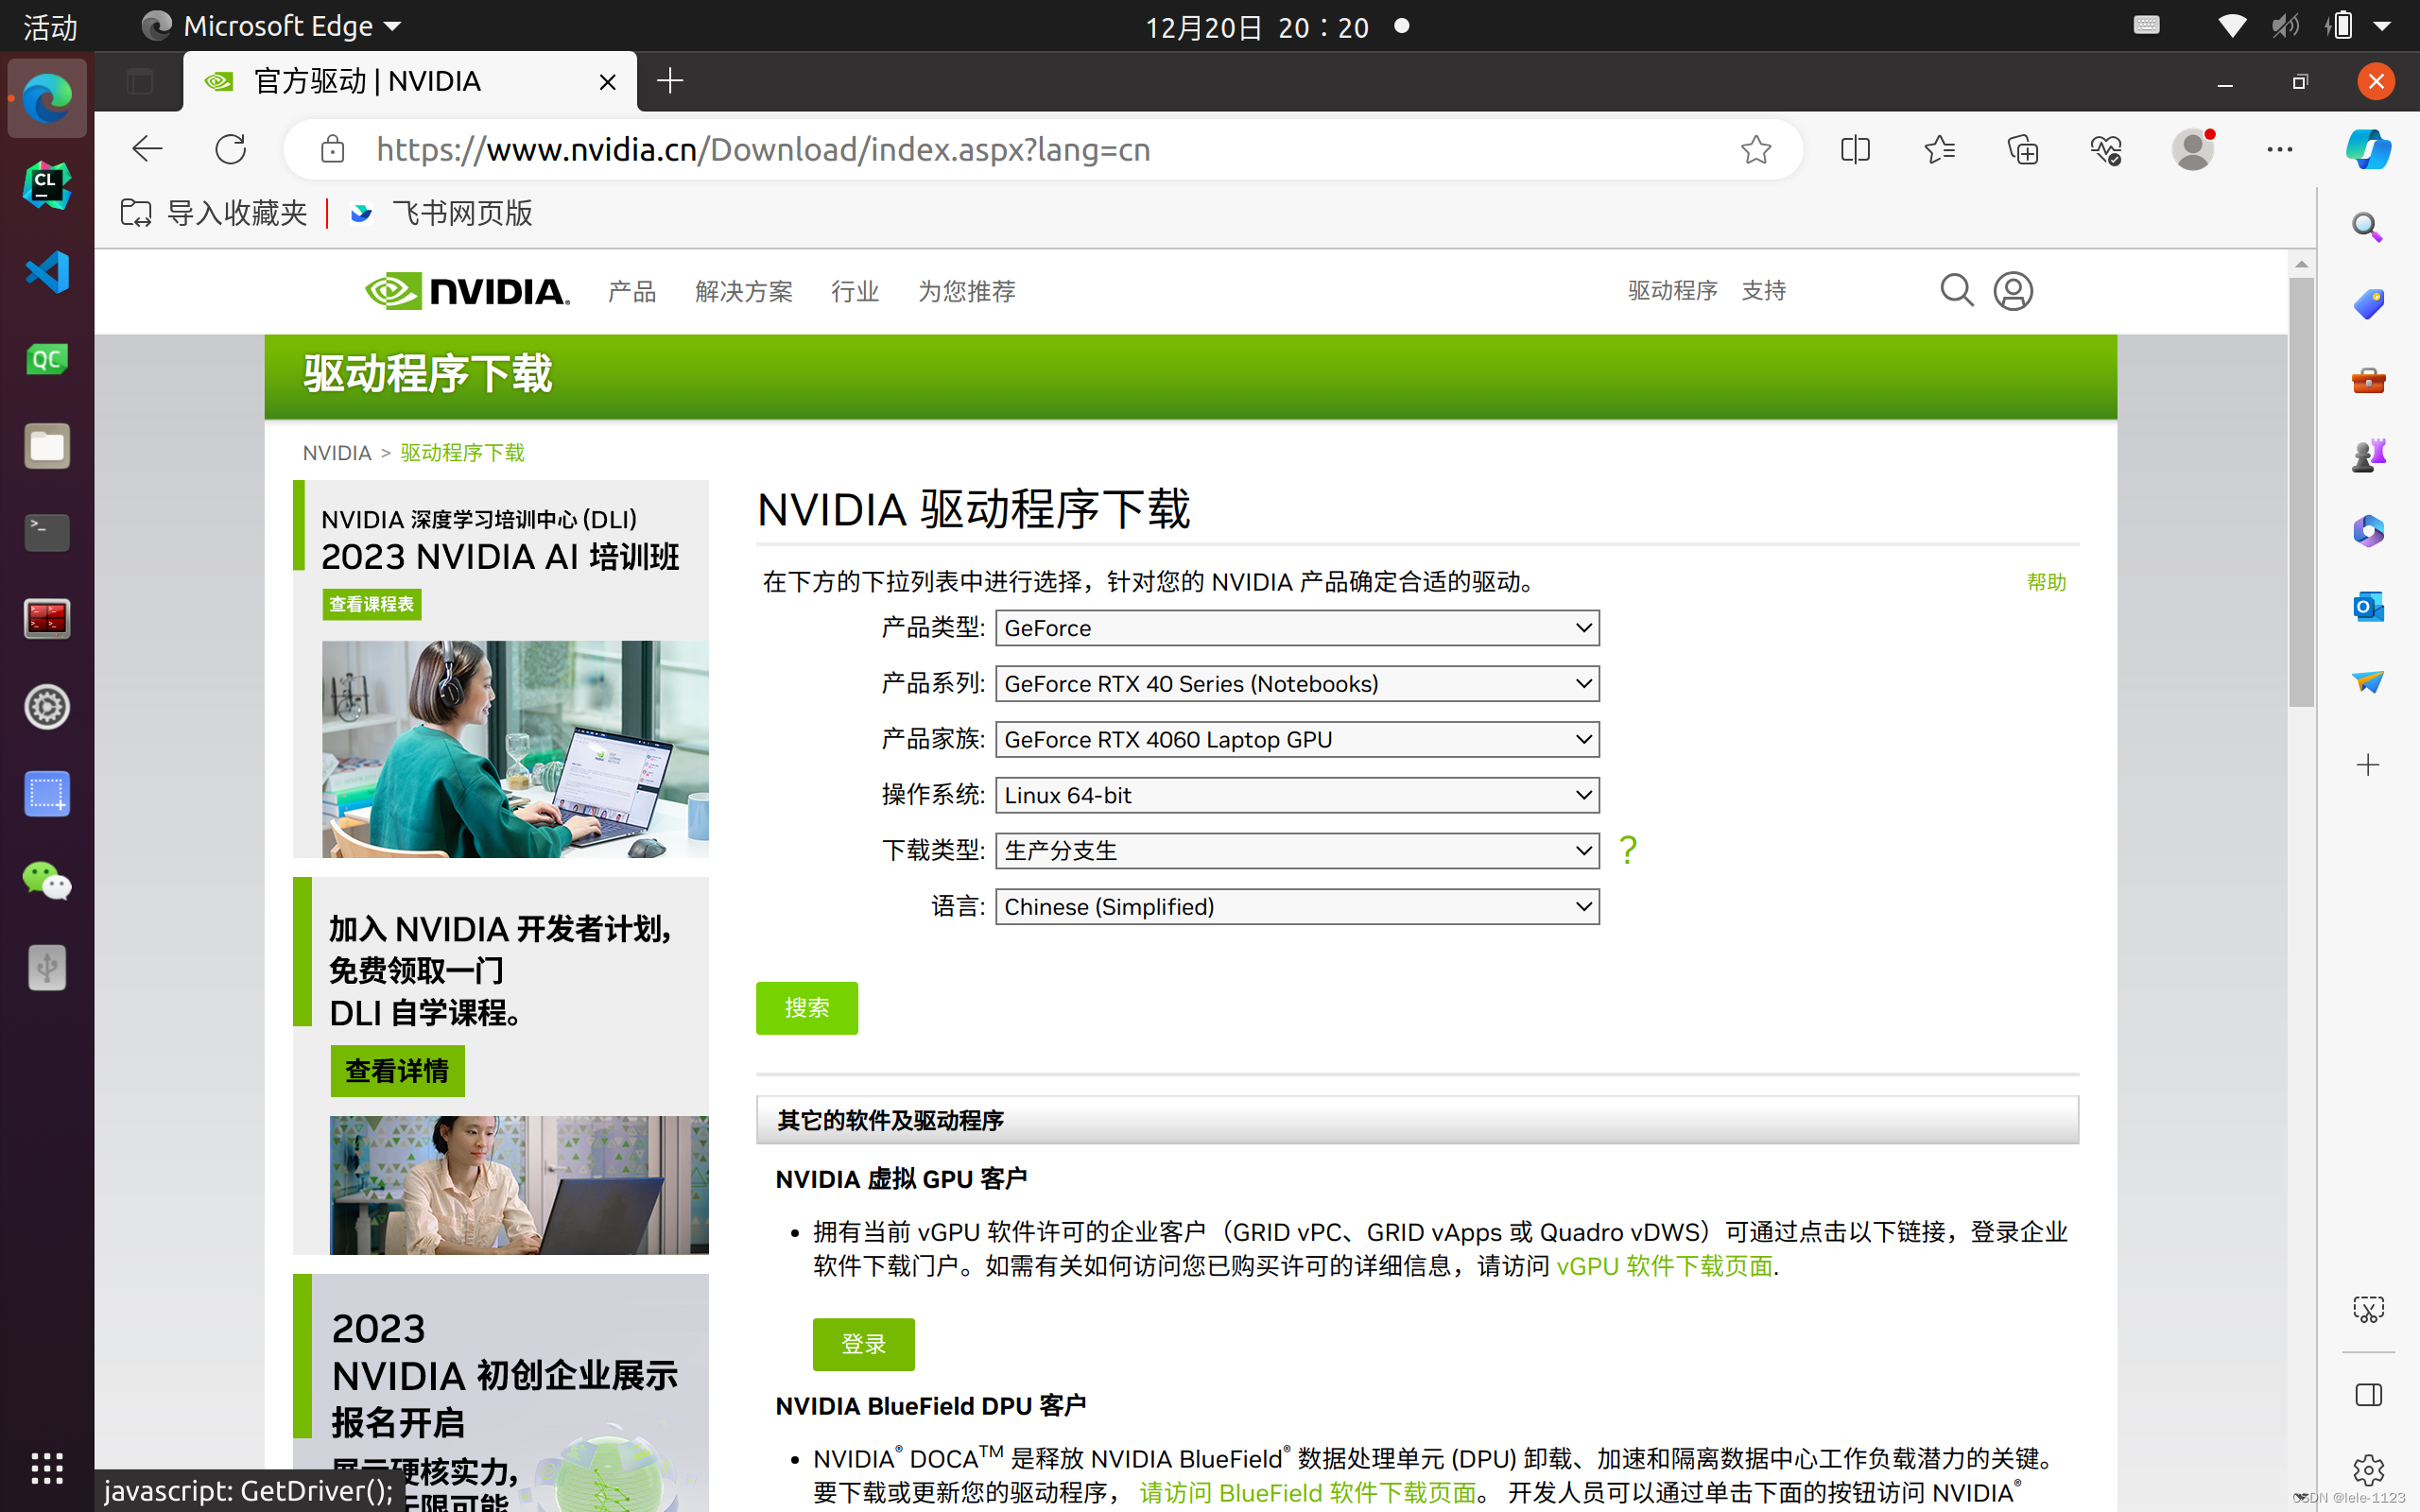
Enter https://nvidia.cn in your browser's address bar to go to the Nvidia official website, and download the driver file (.run format) for your operating system.
1.2 Disable the default nouveau driver
# Edit the file
sudo gedit /etc/modprobe.d/blacklist.conf
# Add a new line
blacklist nouveau
# Save and update initramfs
sudo update-initramfs -u
1.3 Install the graphics driver
cd Downloads
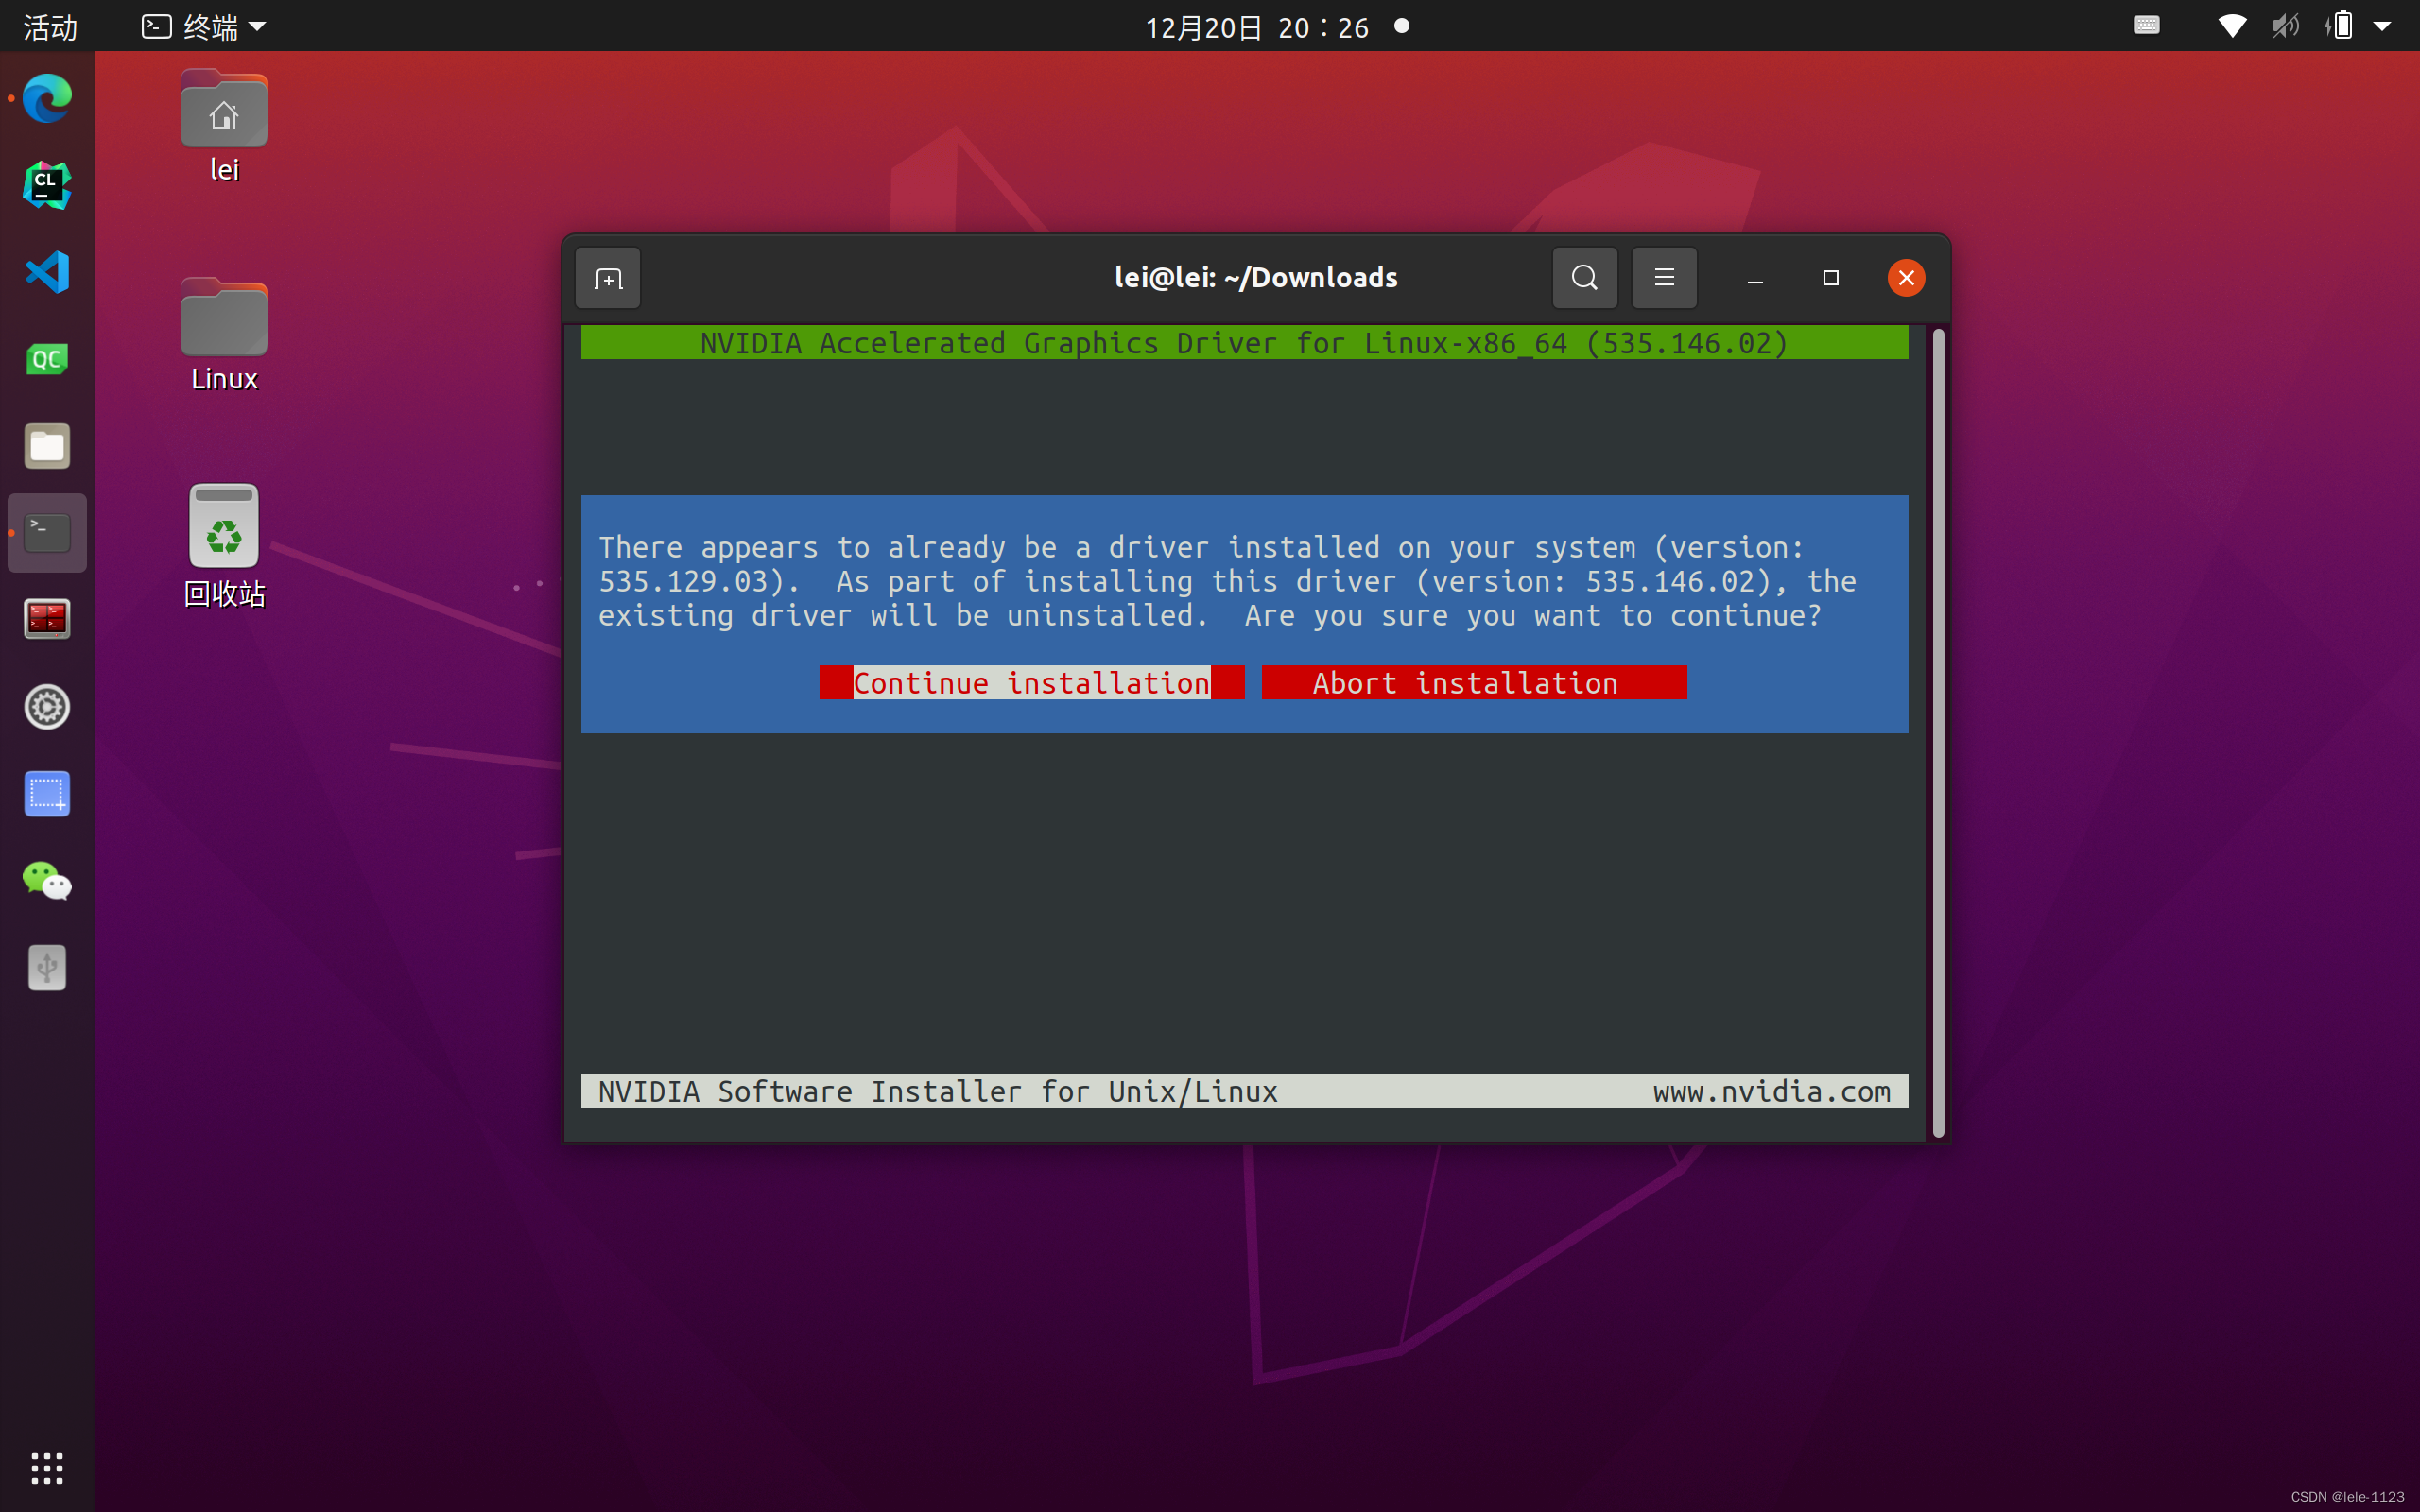
sudo bash NVIDIA-Linux-x86_64-(version).run1.4 Follow the images to select options during installation
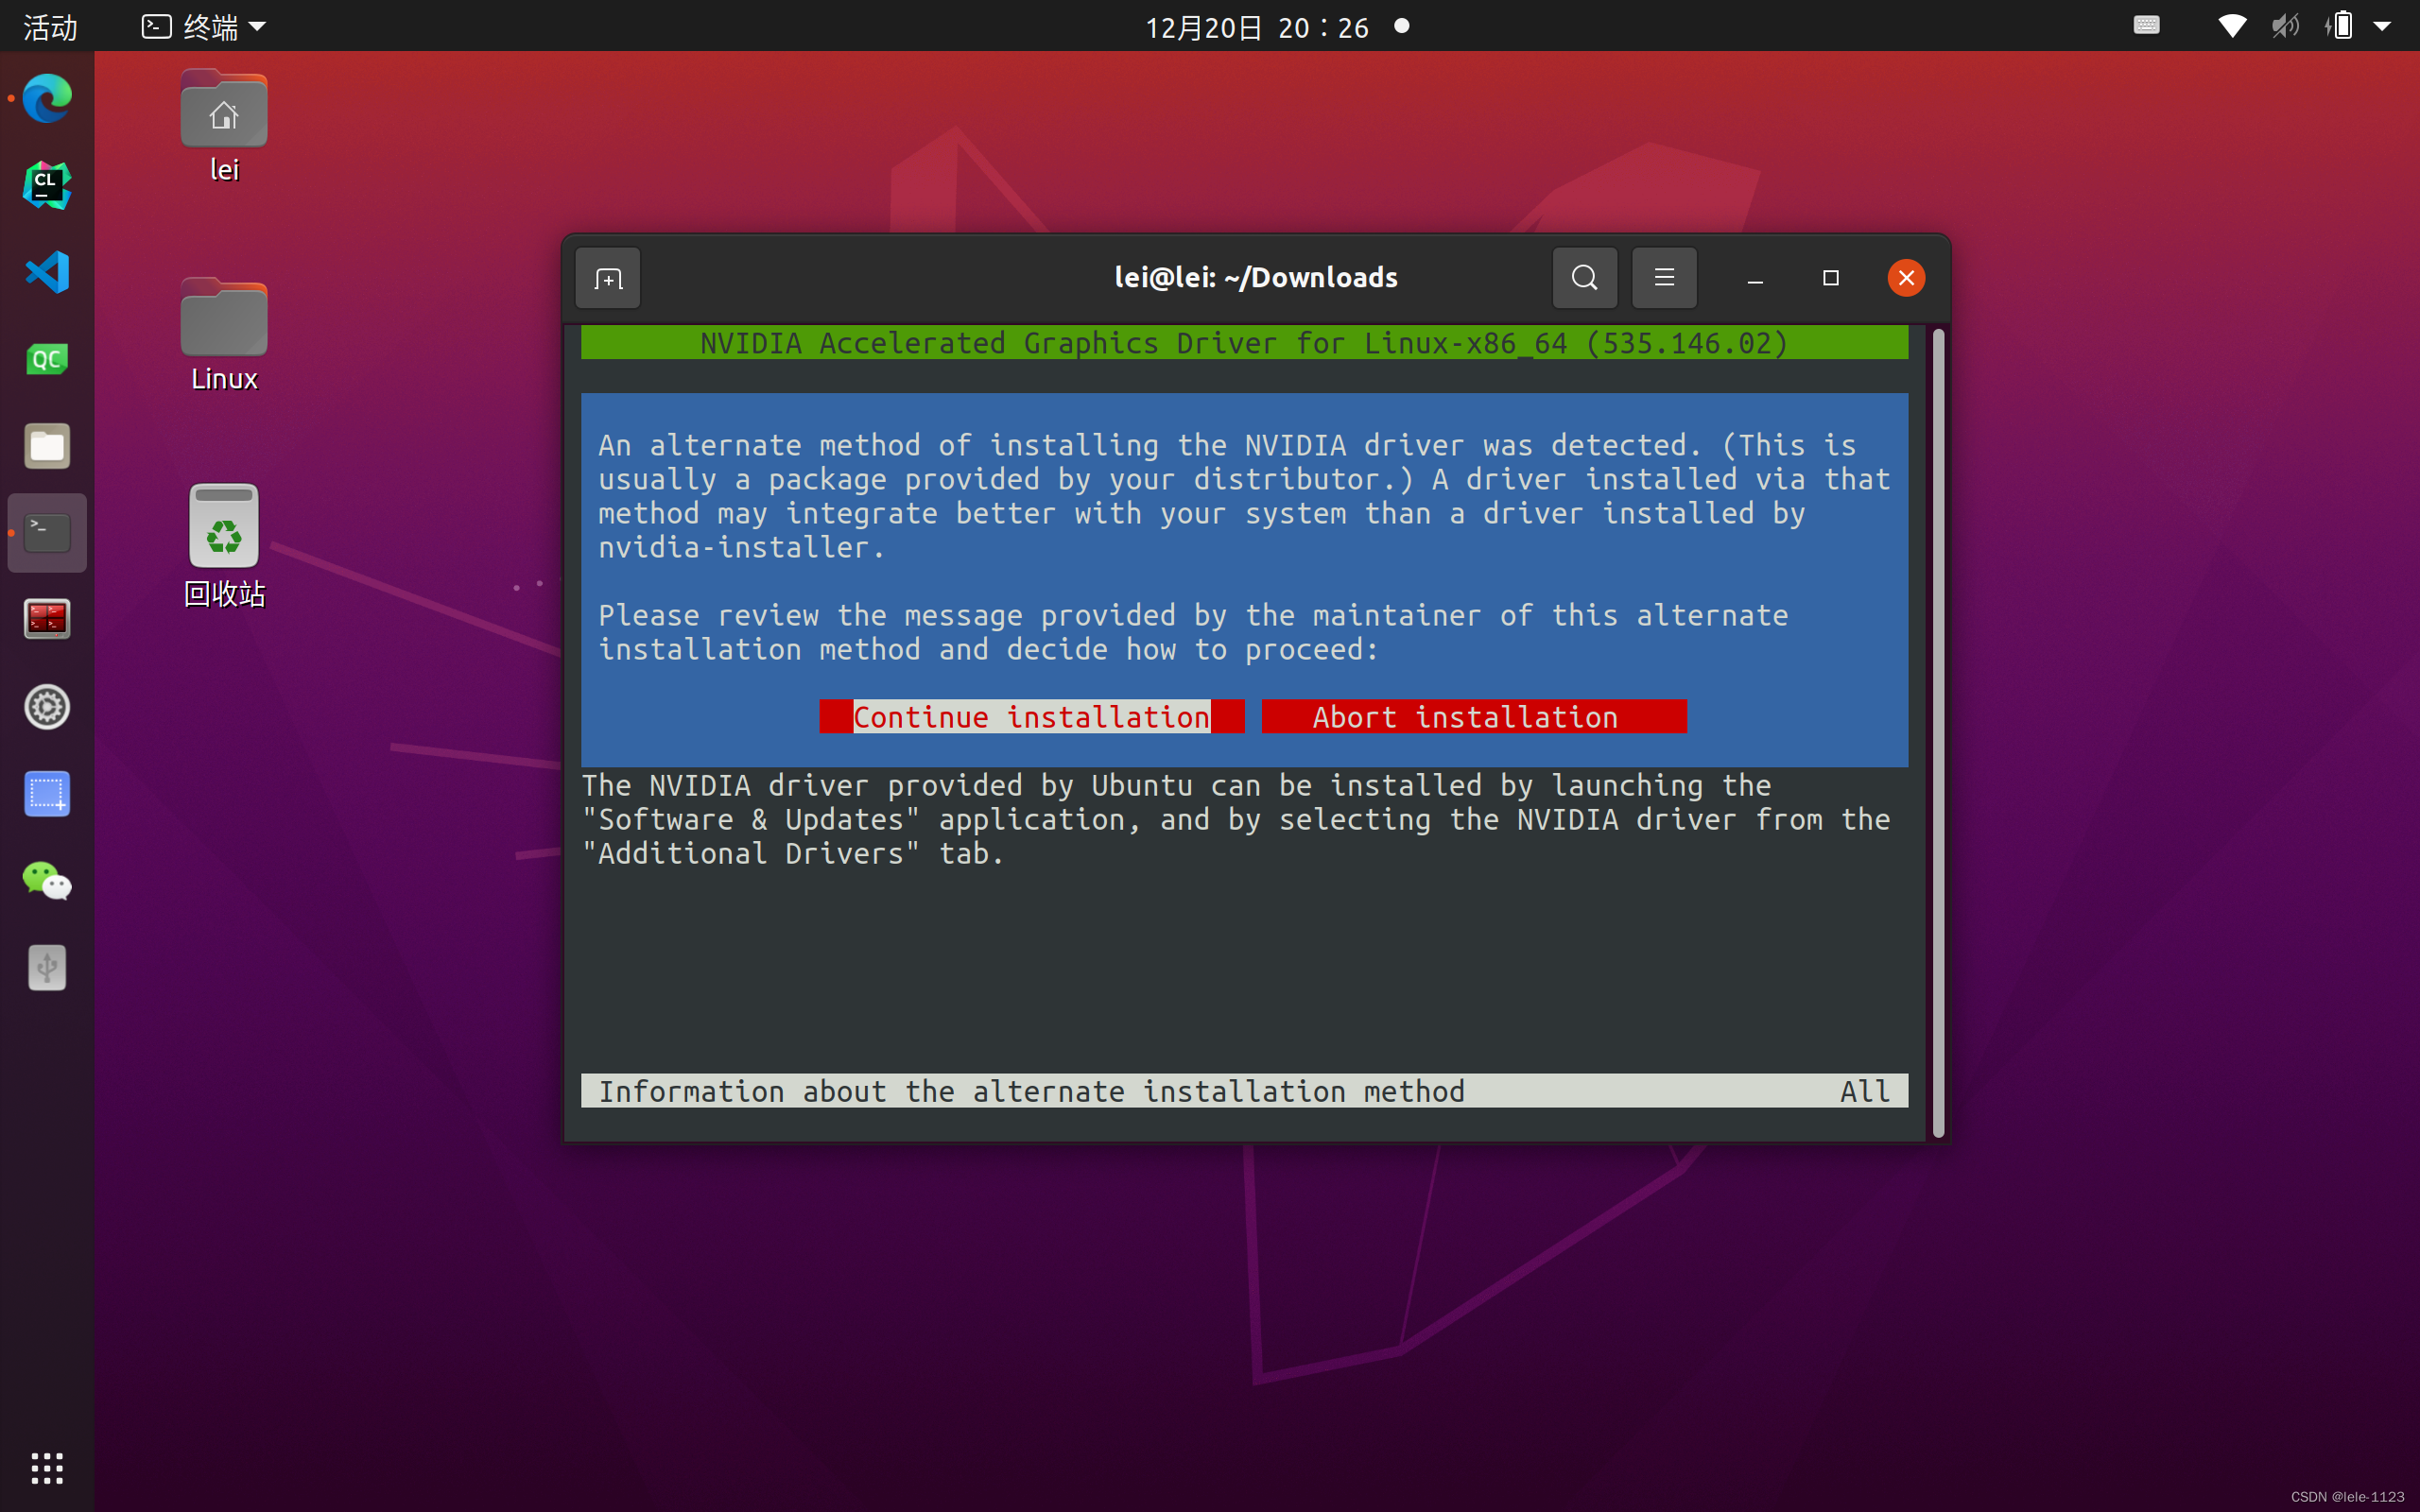
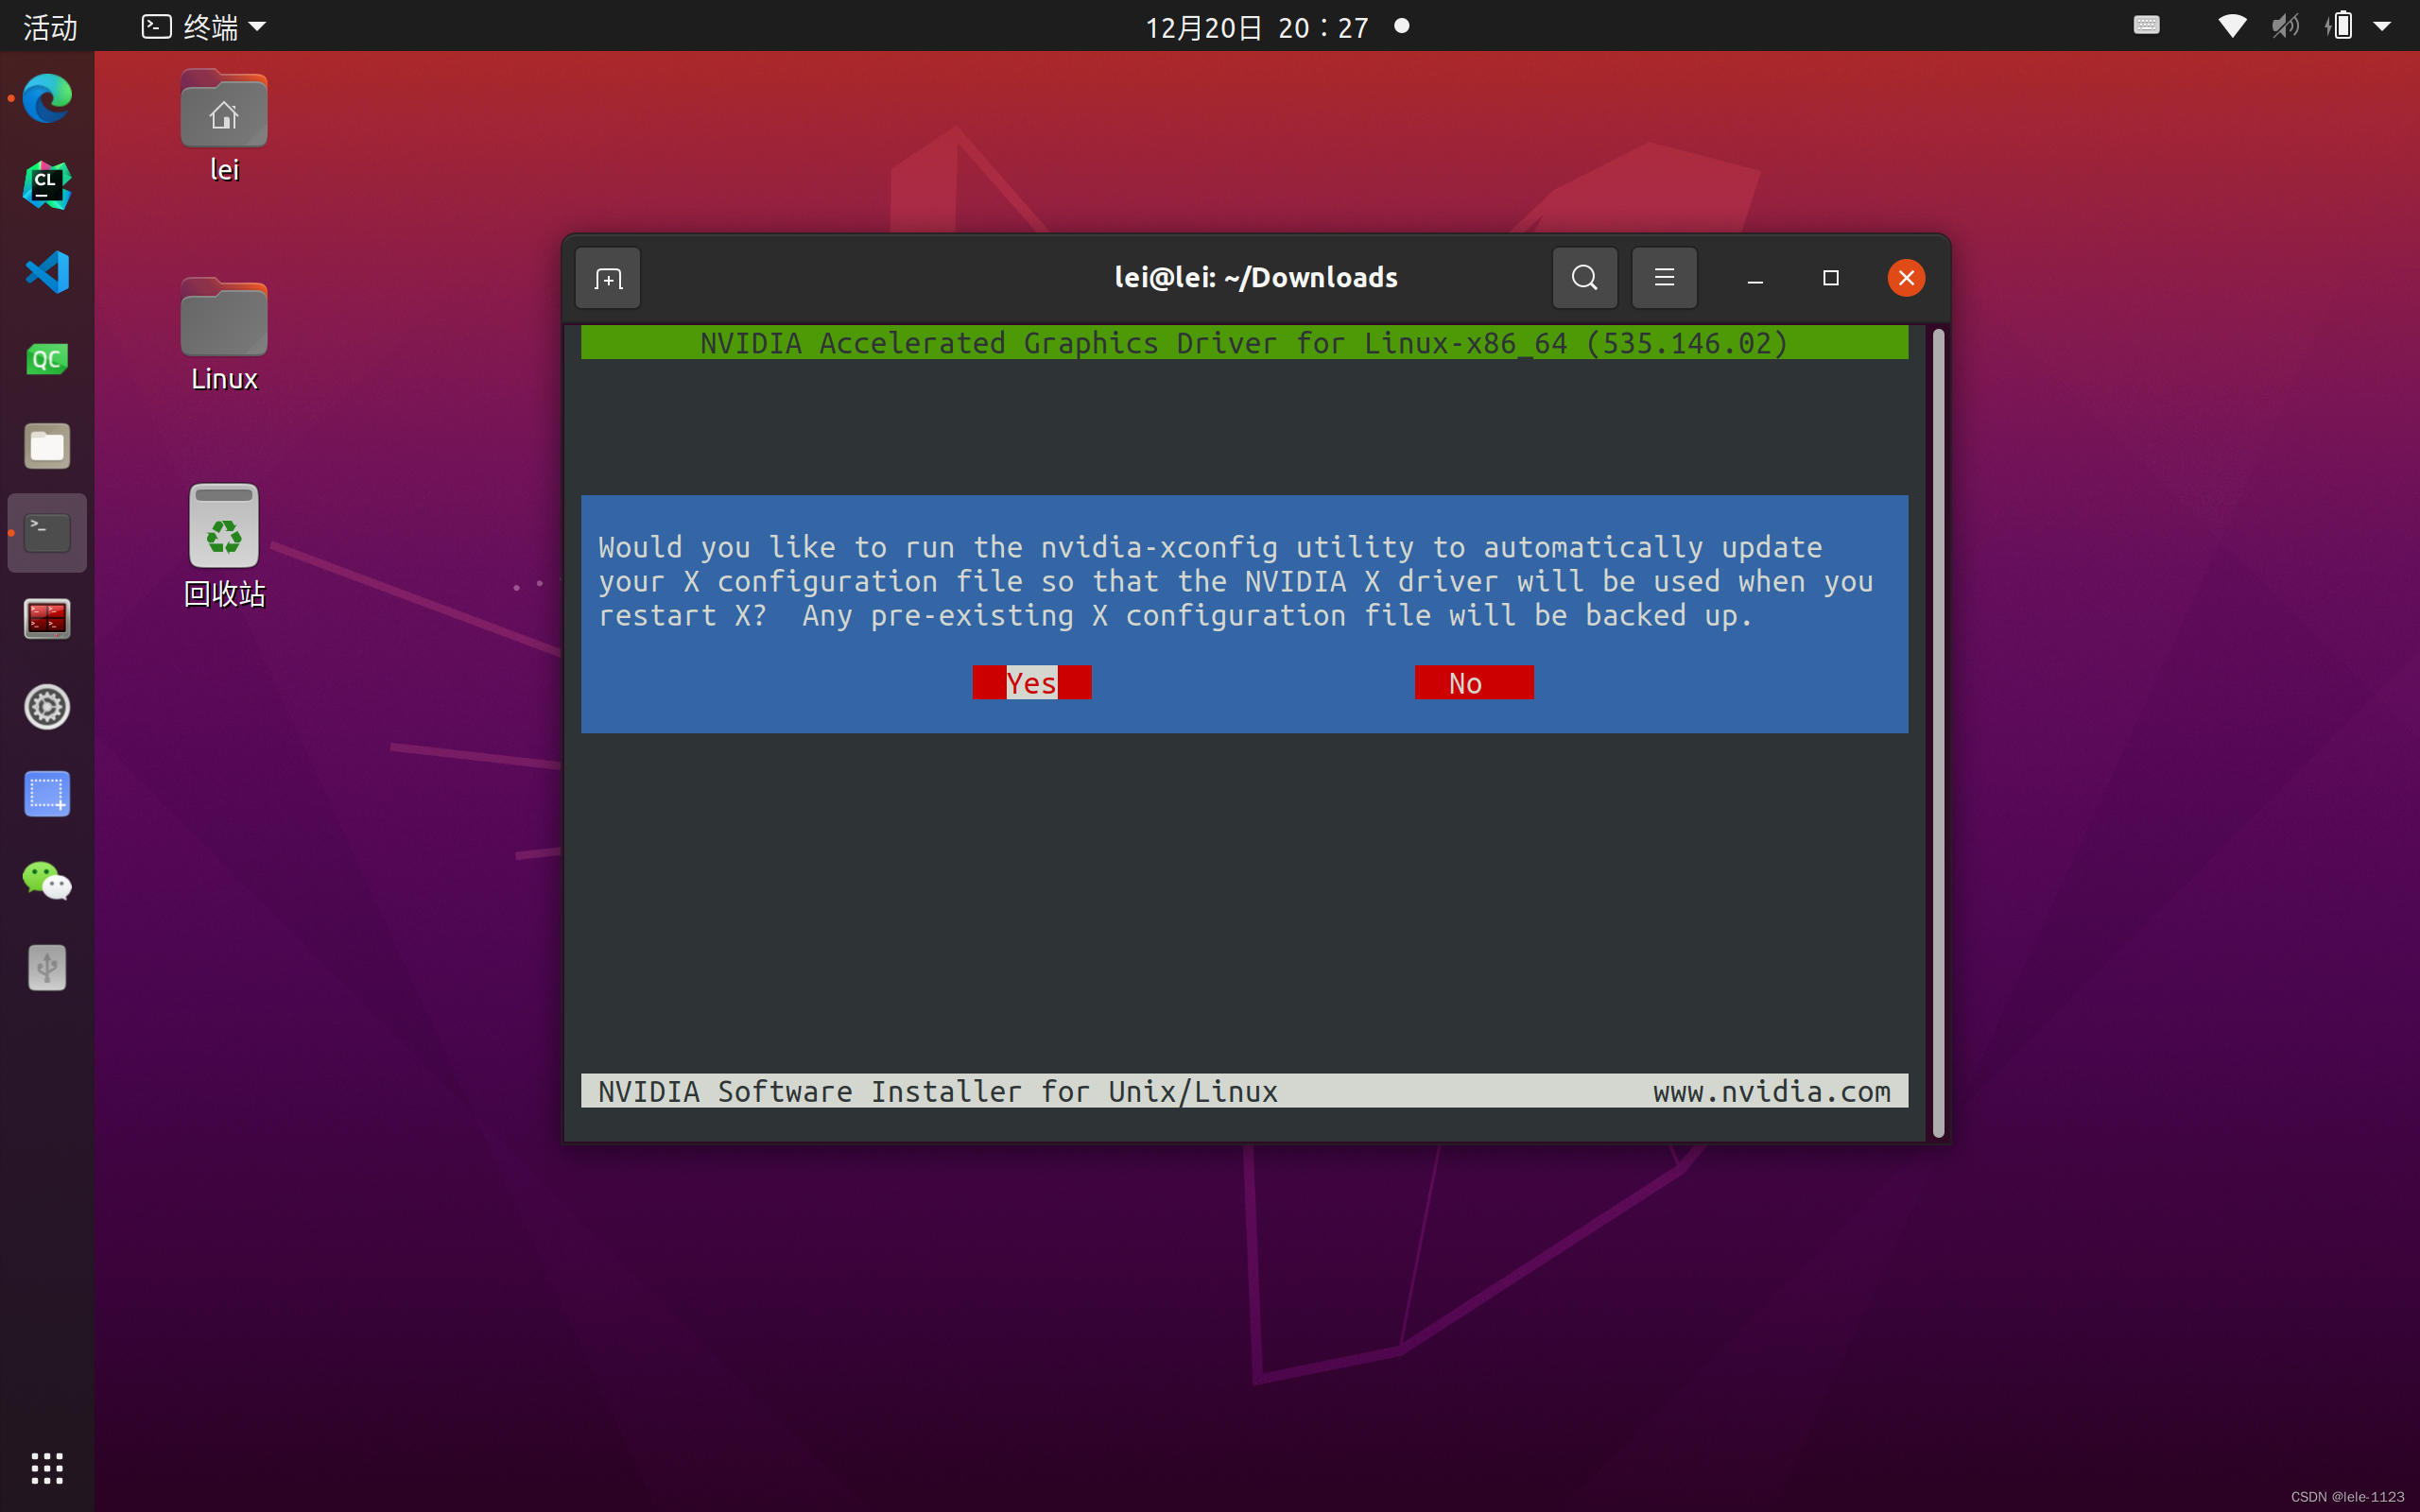
(The following are interface choices during installation; follow the screenshots.)
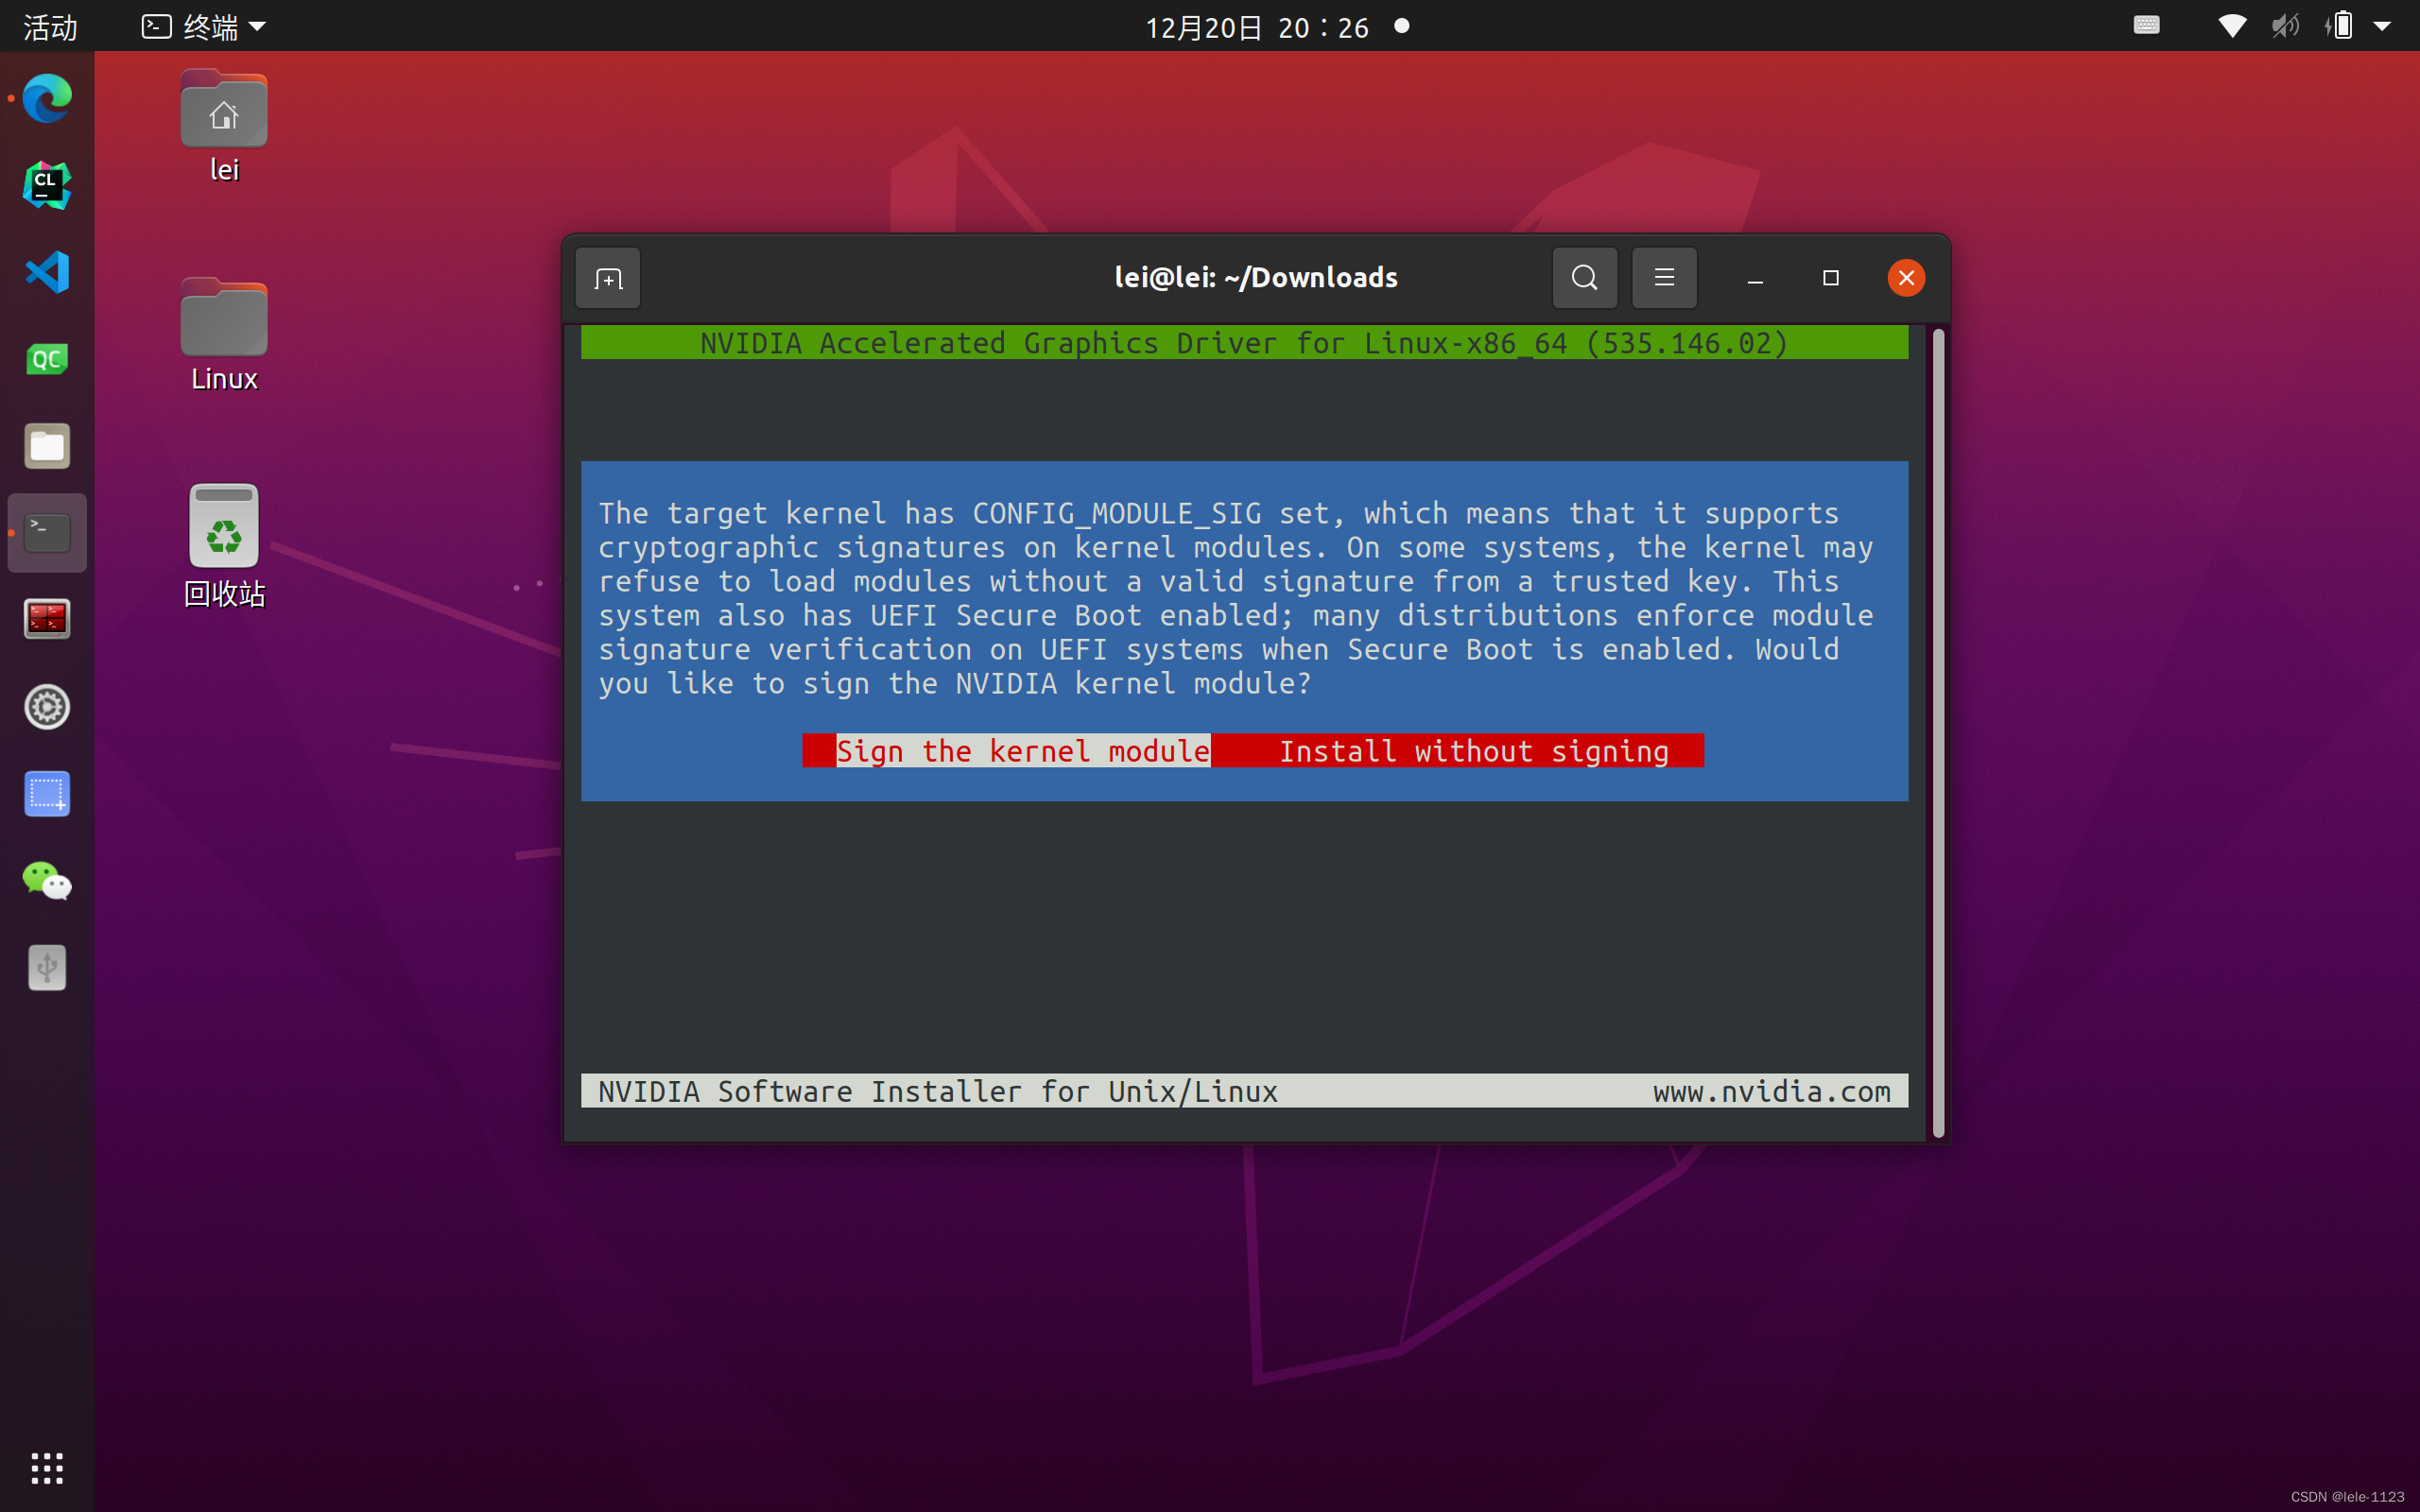
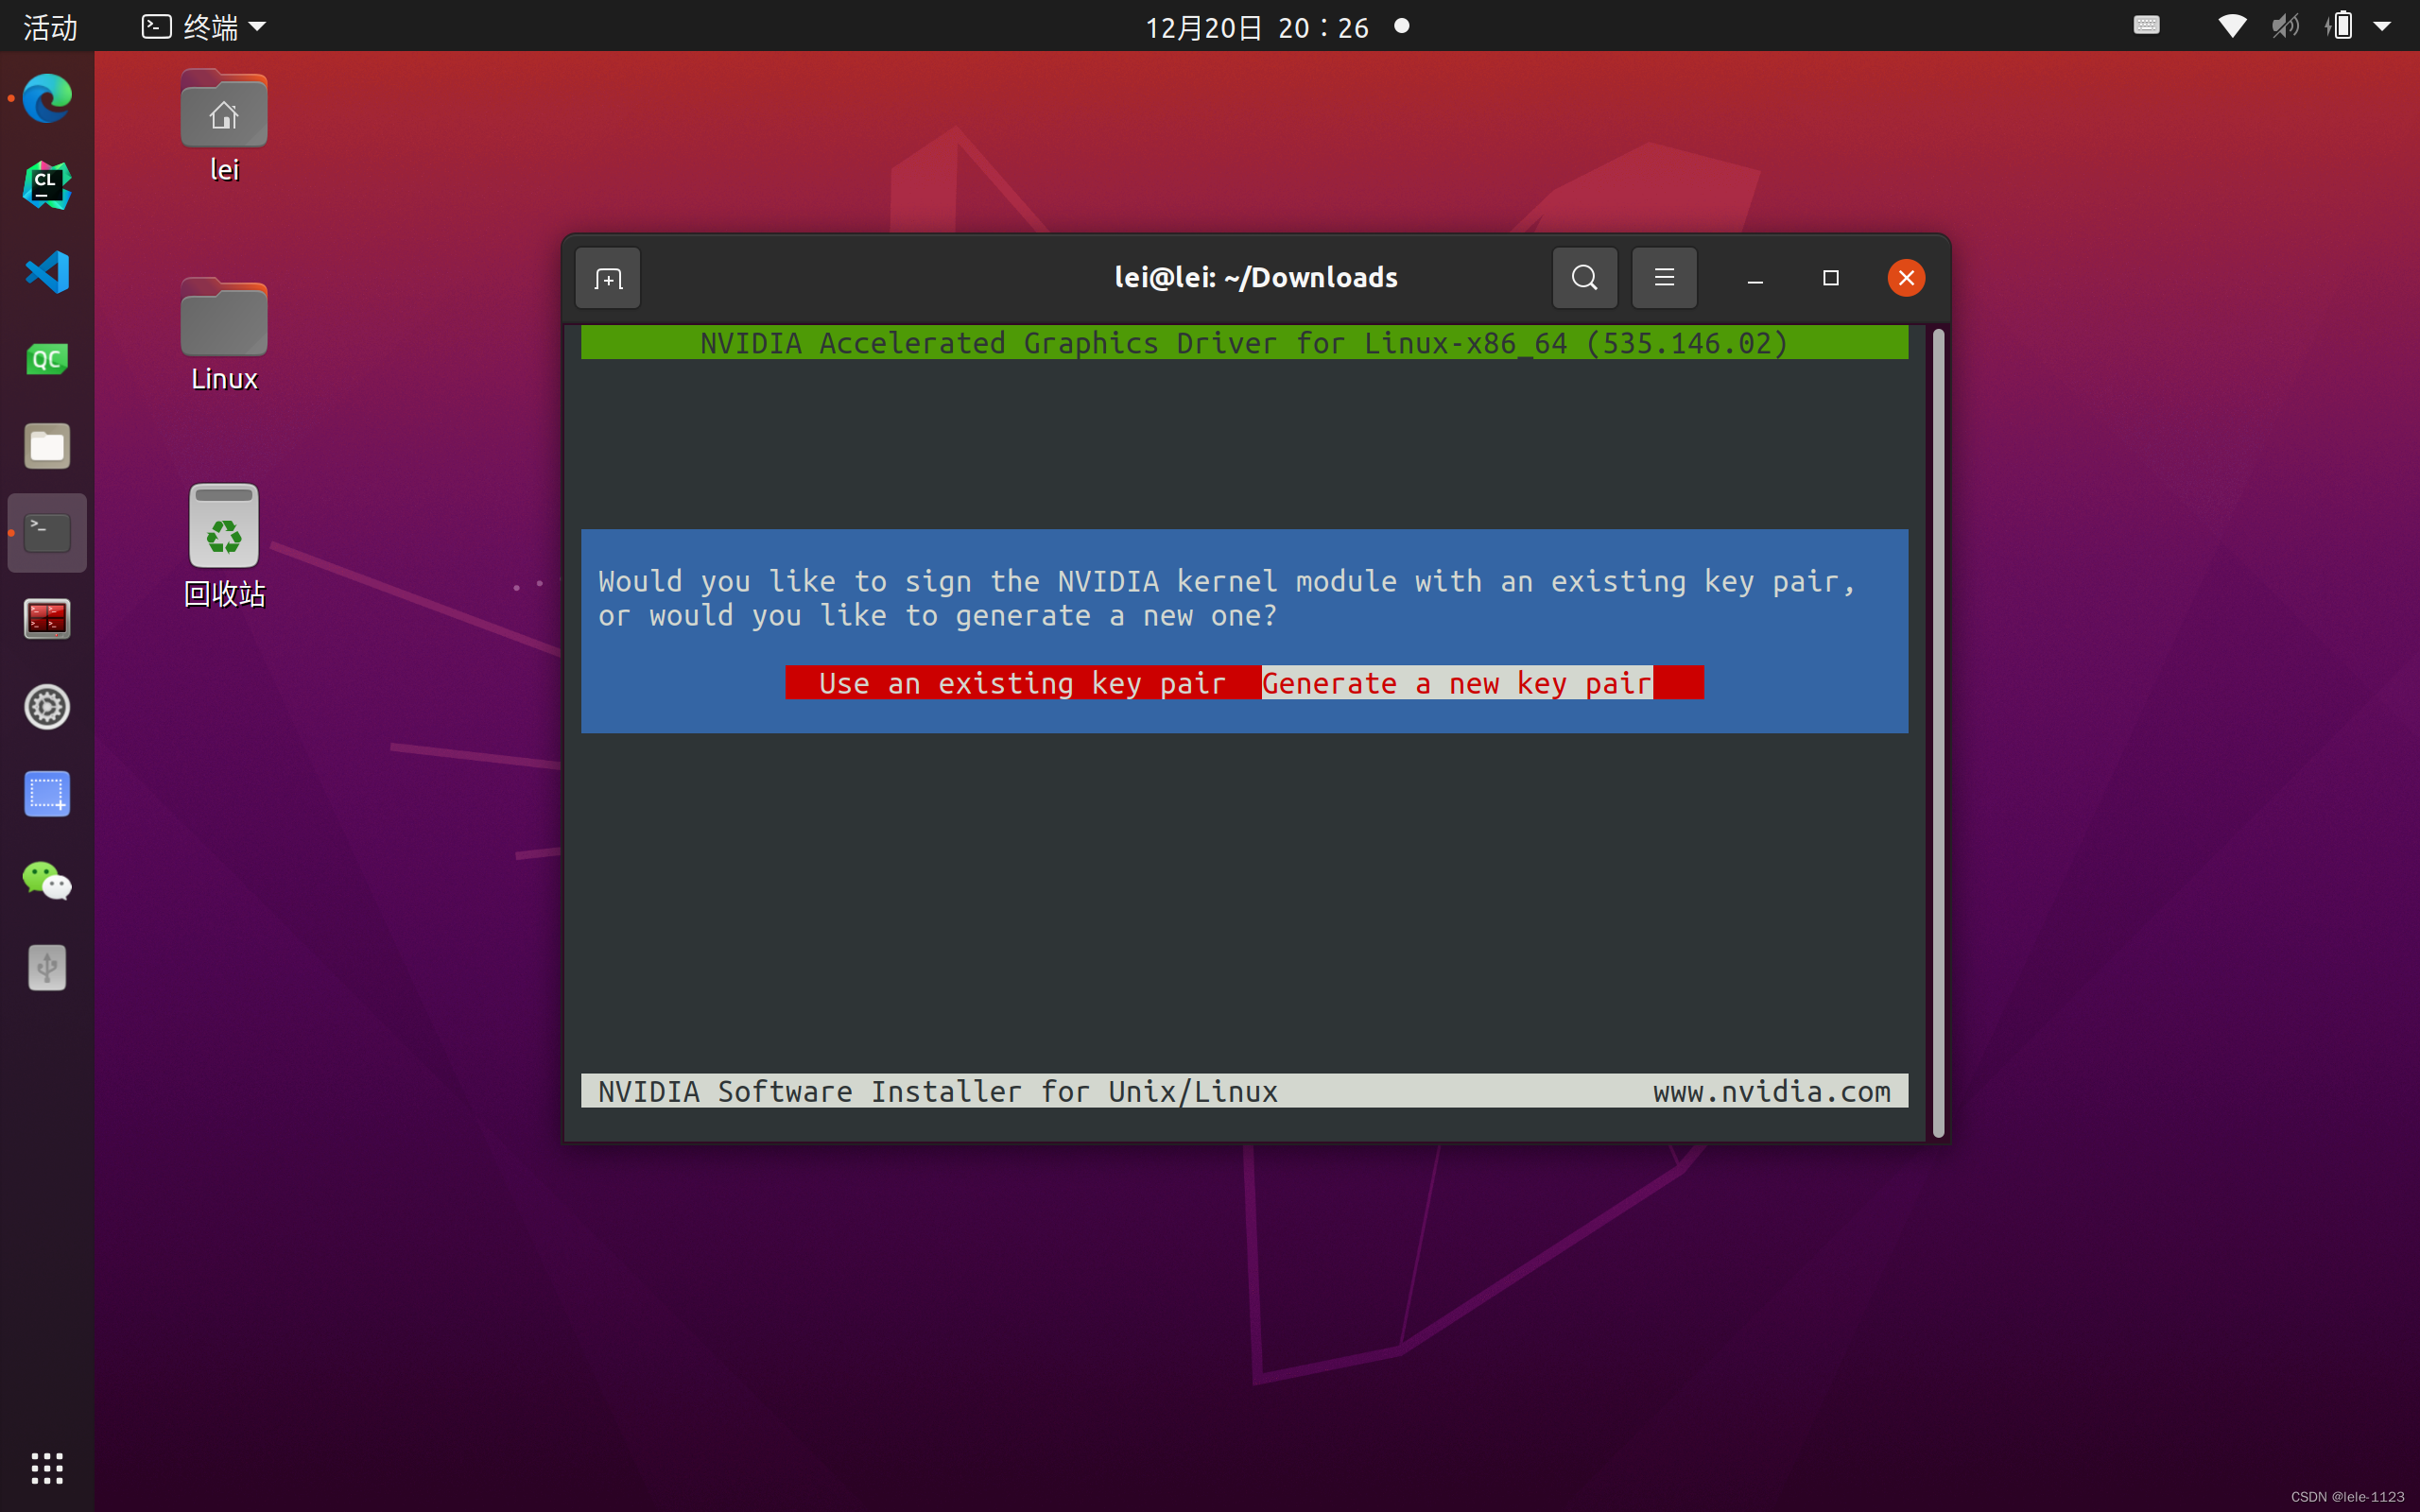
Note: If Secure Boot mode is enabled, you must install the signature file, otherwise the driver will not work.
- Choose to generate a new signing certificate: It will be manually added to system trust later.
- If upgrading the driver: Select the option on the left to use the previously installed signing public and private keys.
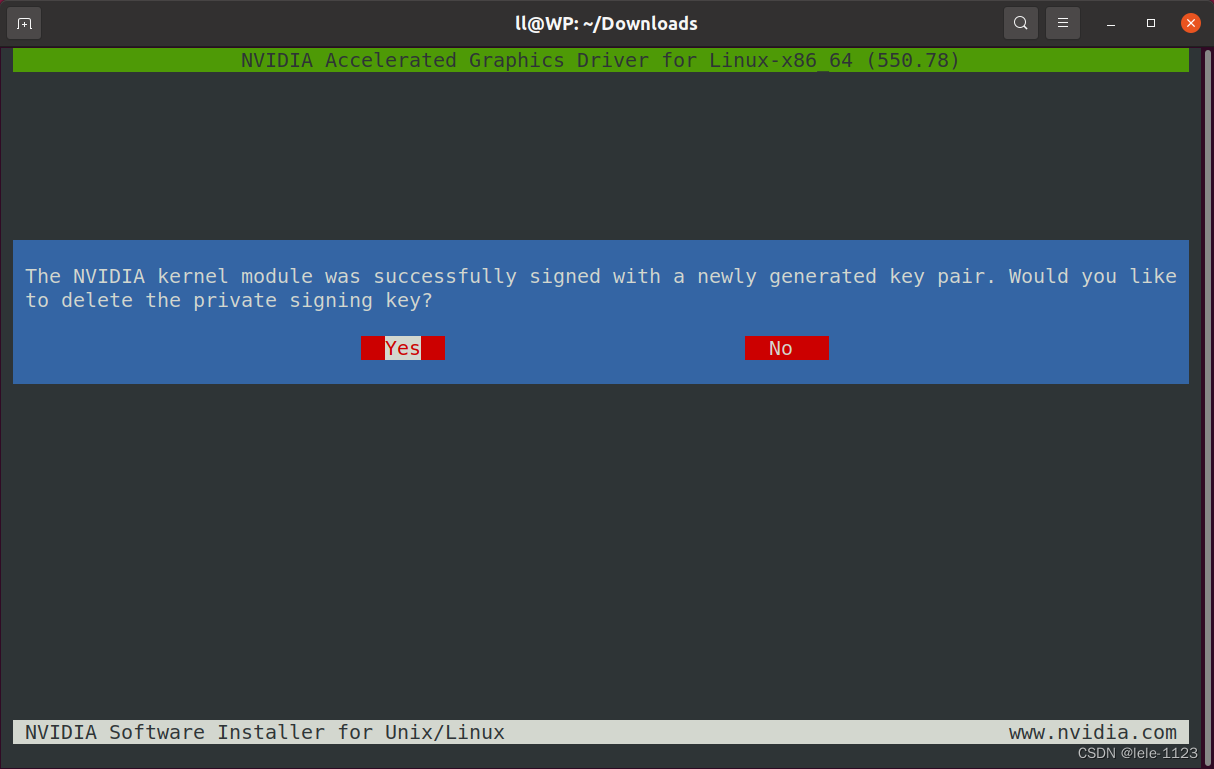
- When generating for the first time: Choose whether to delete the private key. It is recommended to select "No" to make it easier for future upgrades.
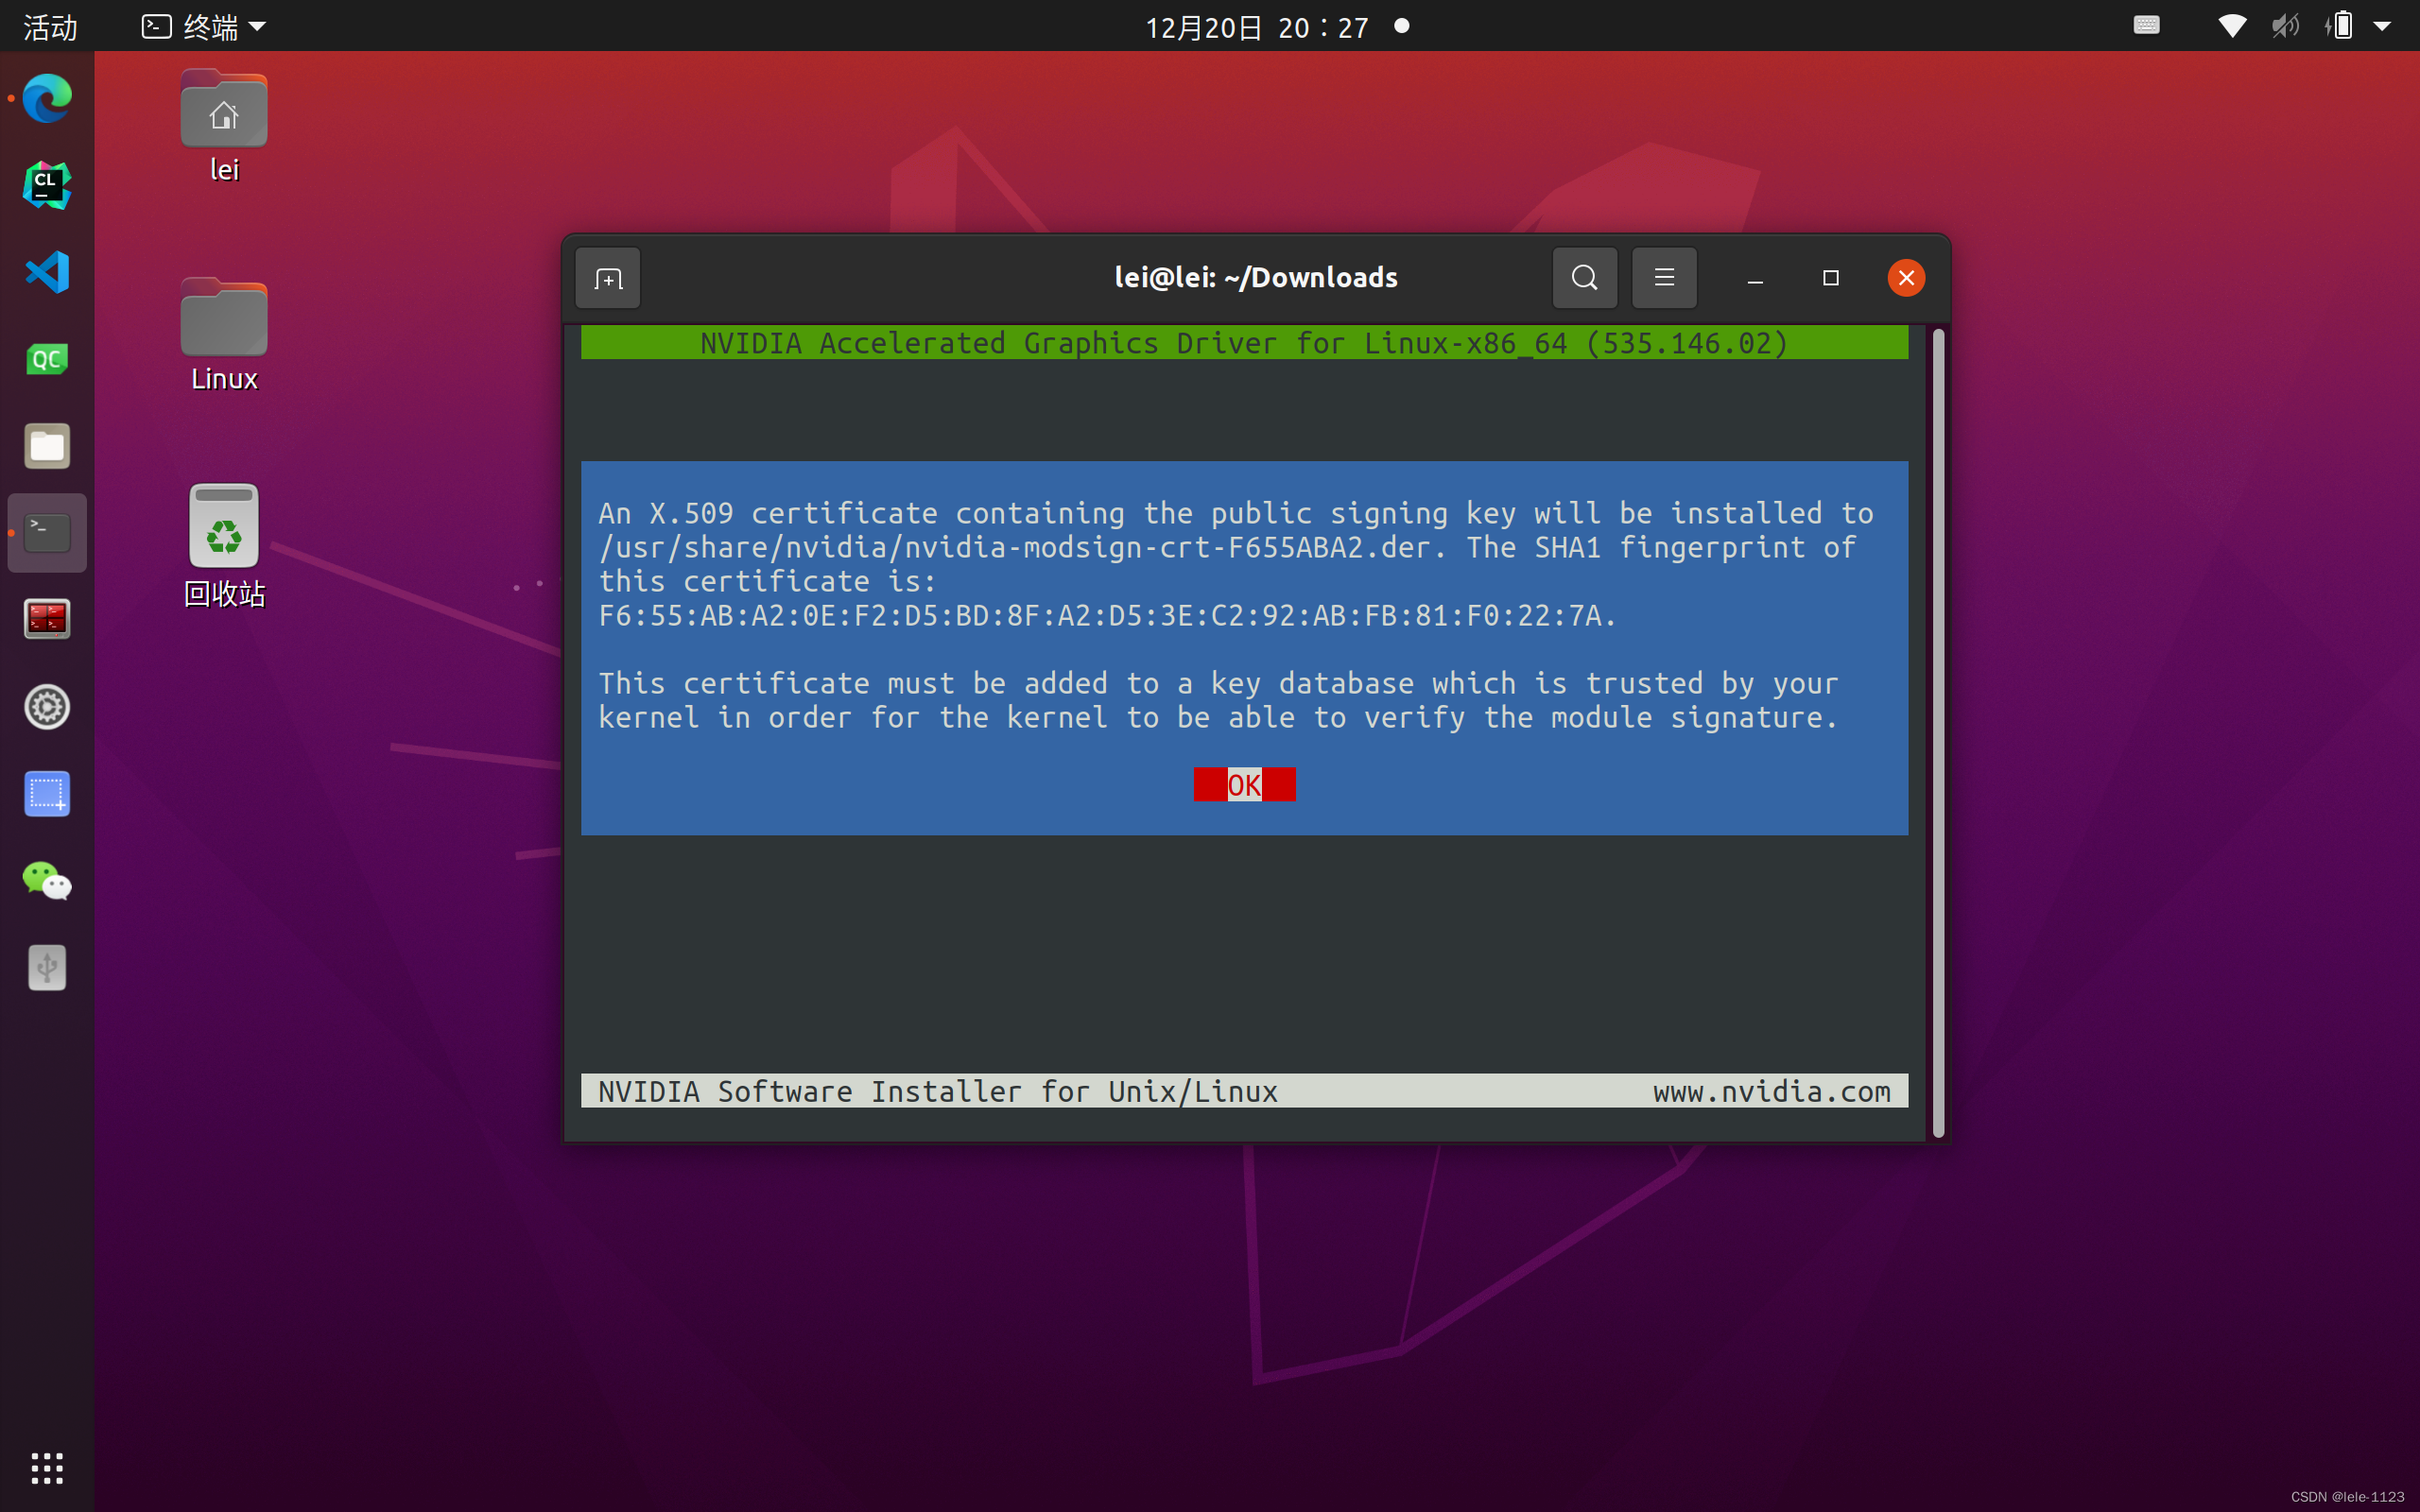
Finally, the locations of the public and private keys are shown.
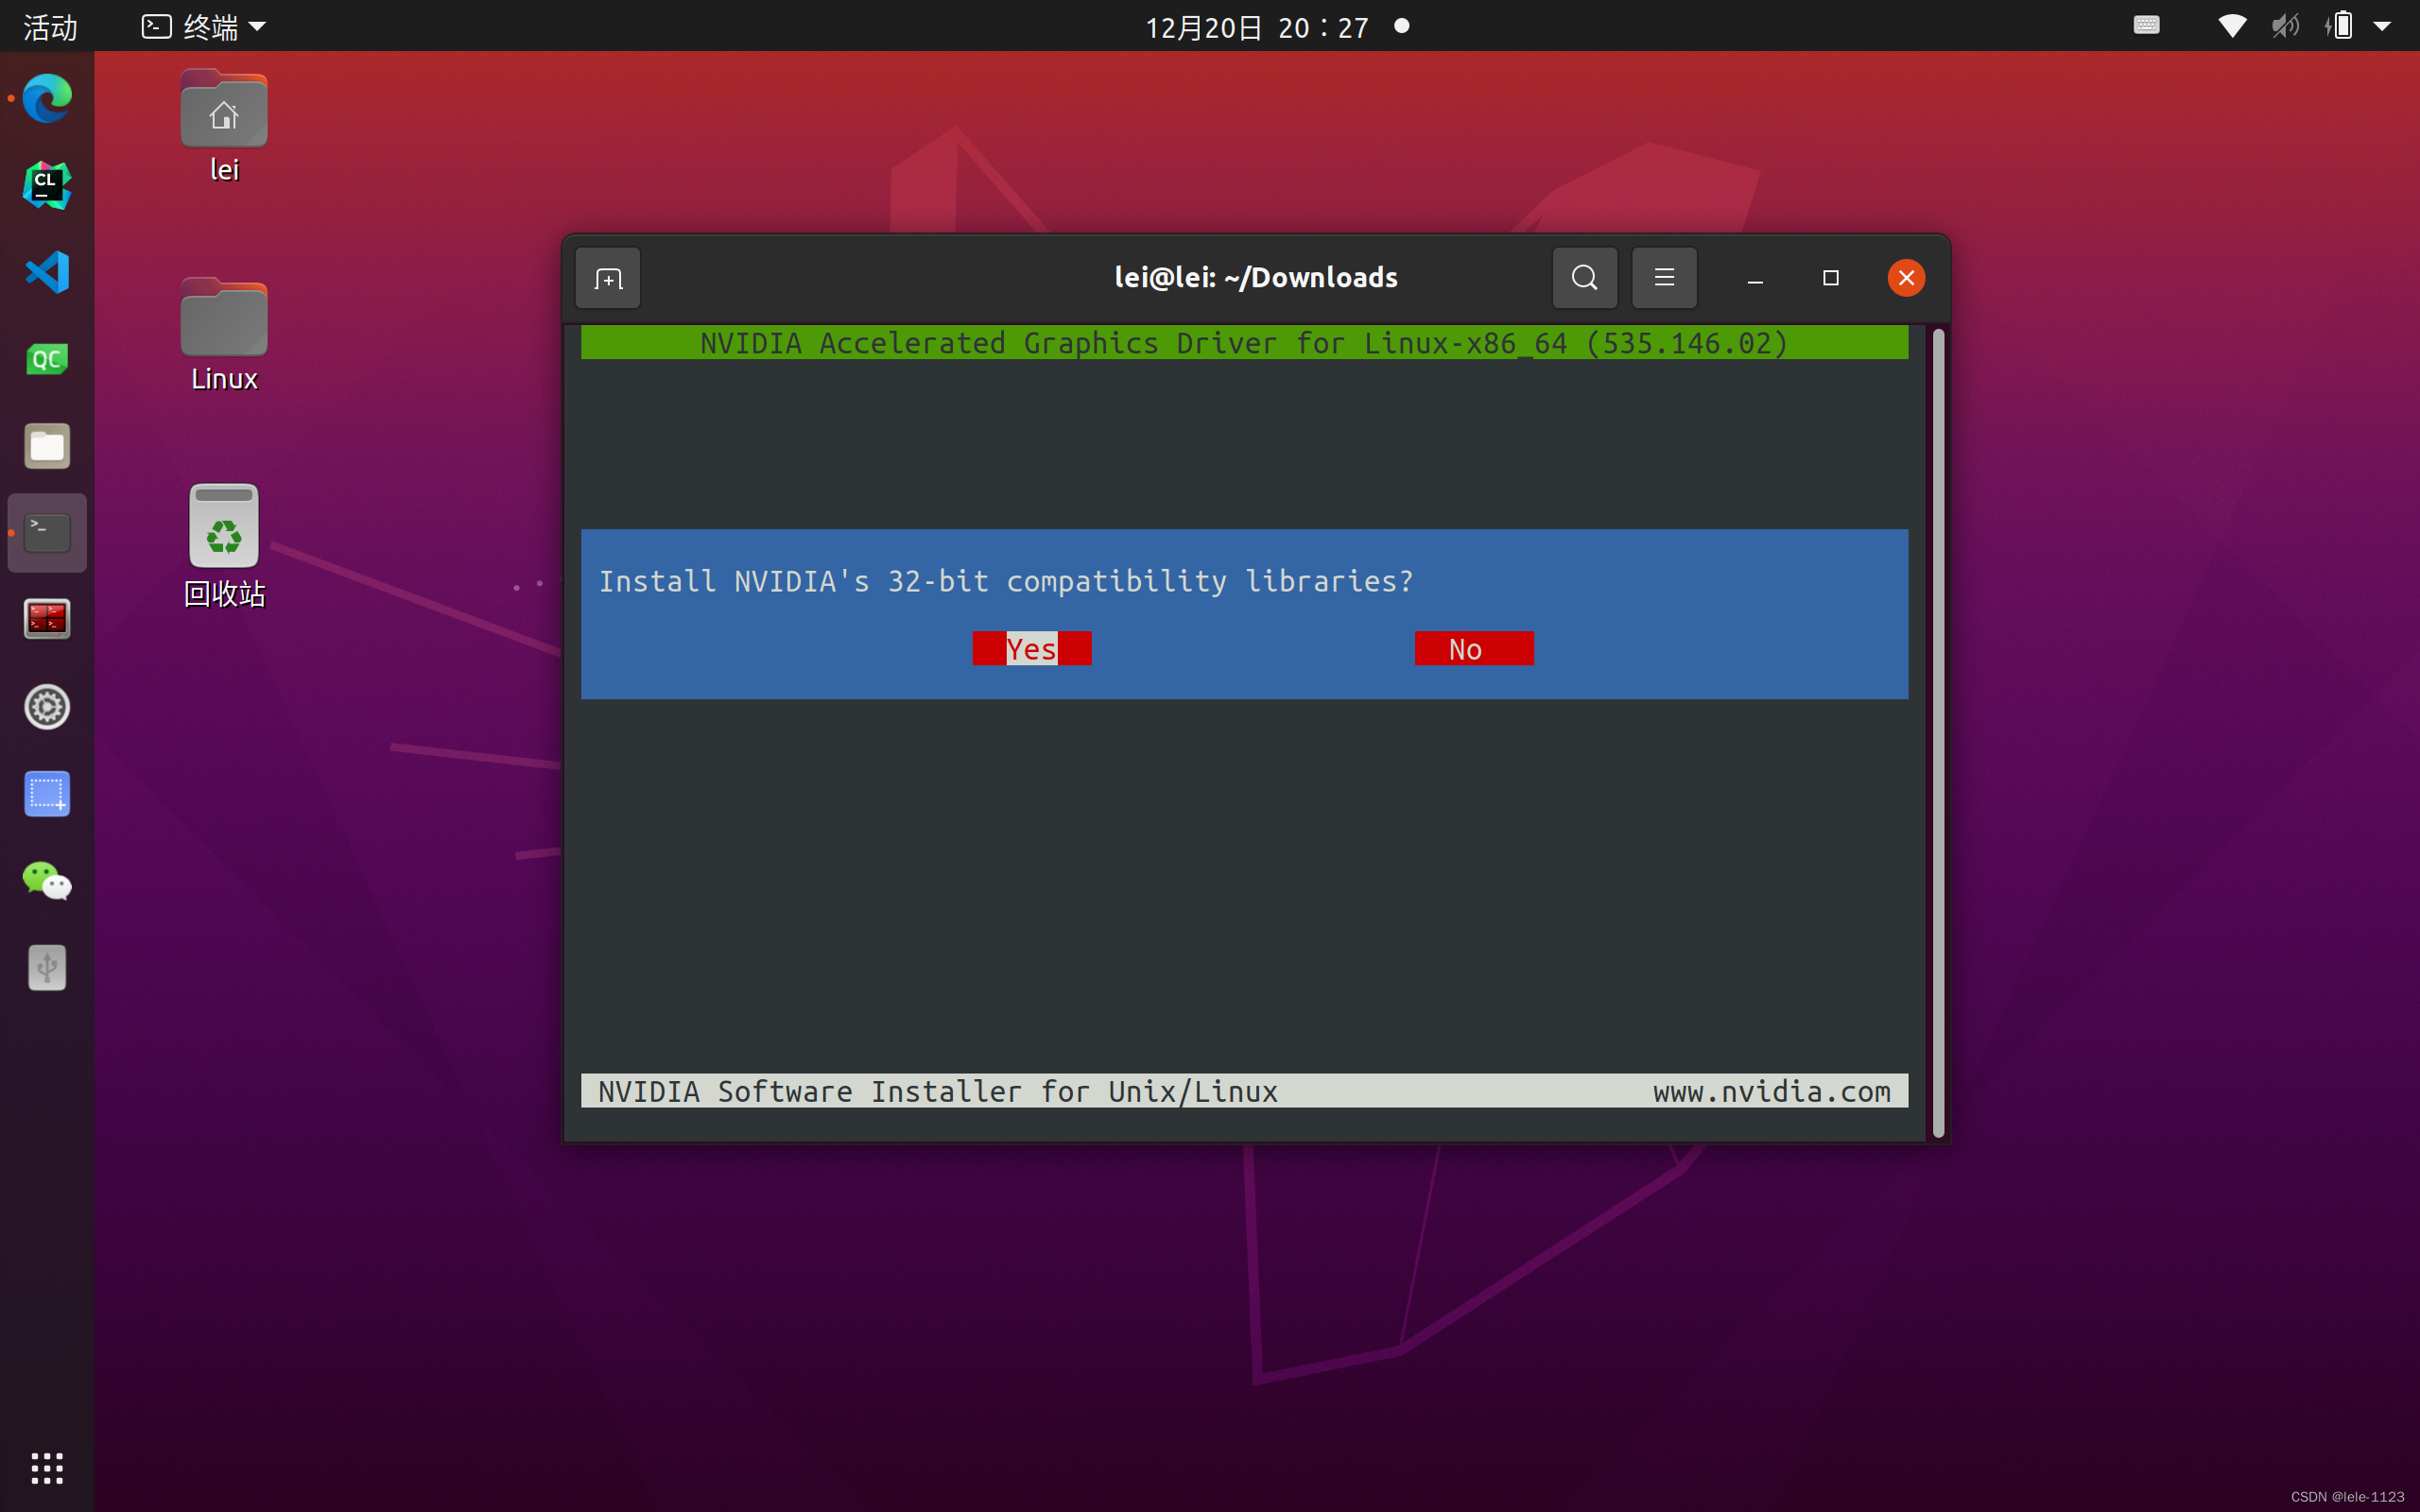
Then choose to save 32-bit compatibility libraries and enable DKMS (Dynamic Kernel Module Support).
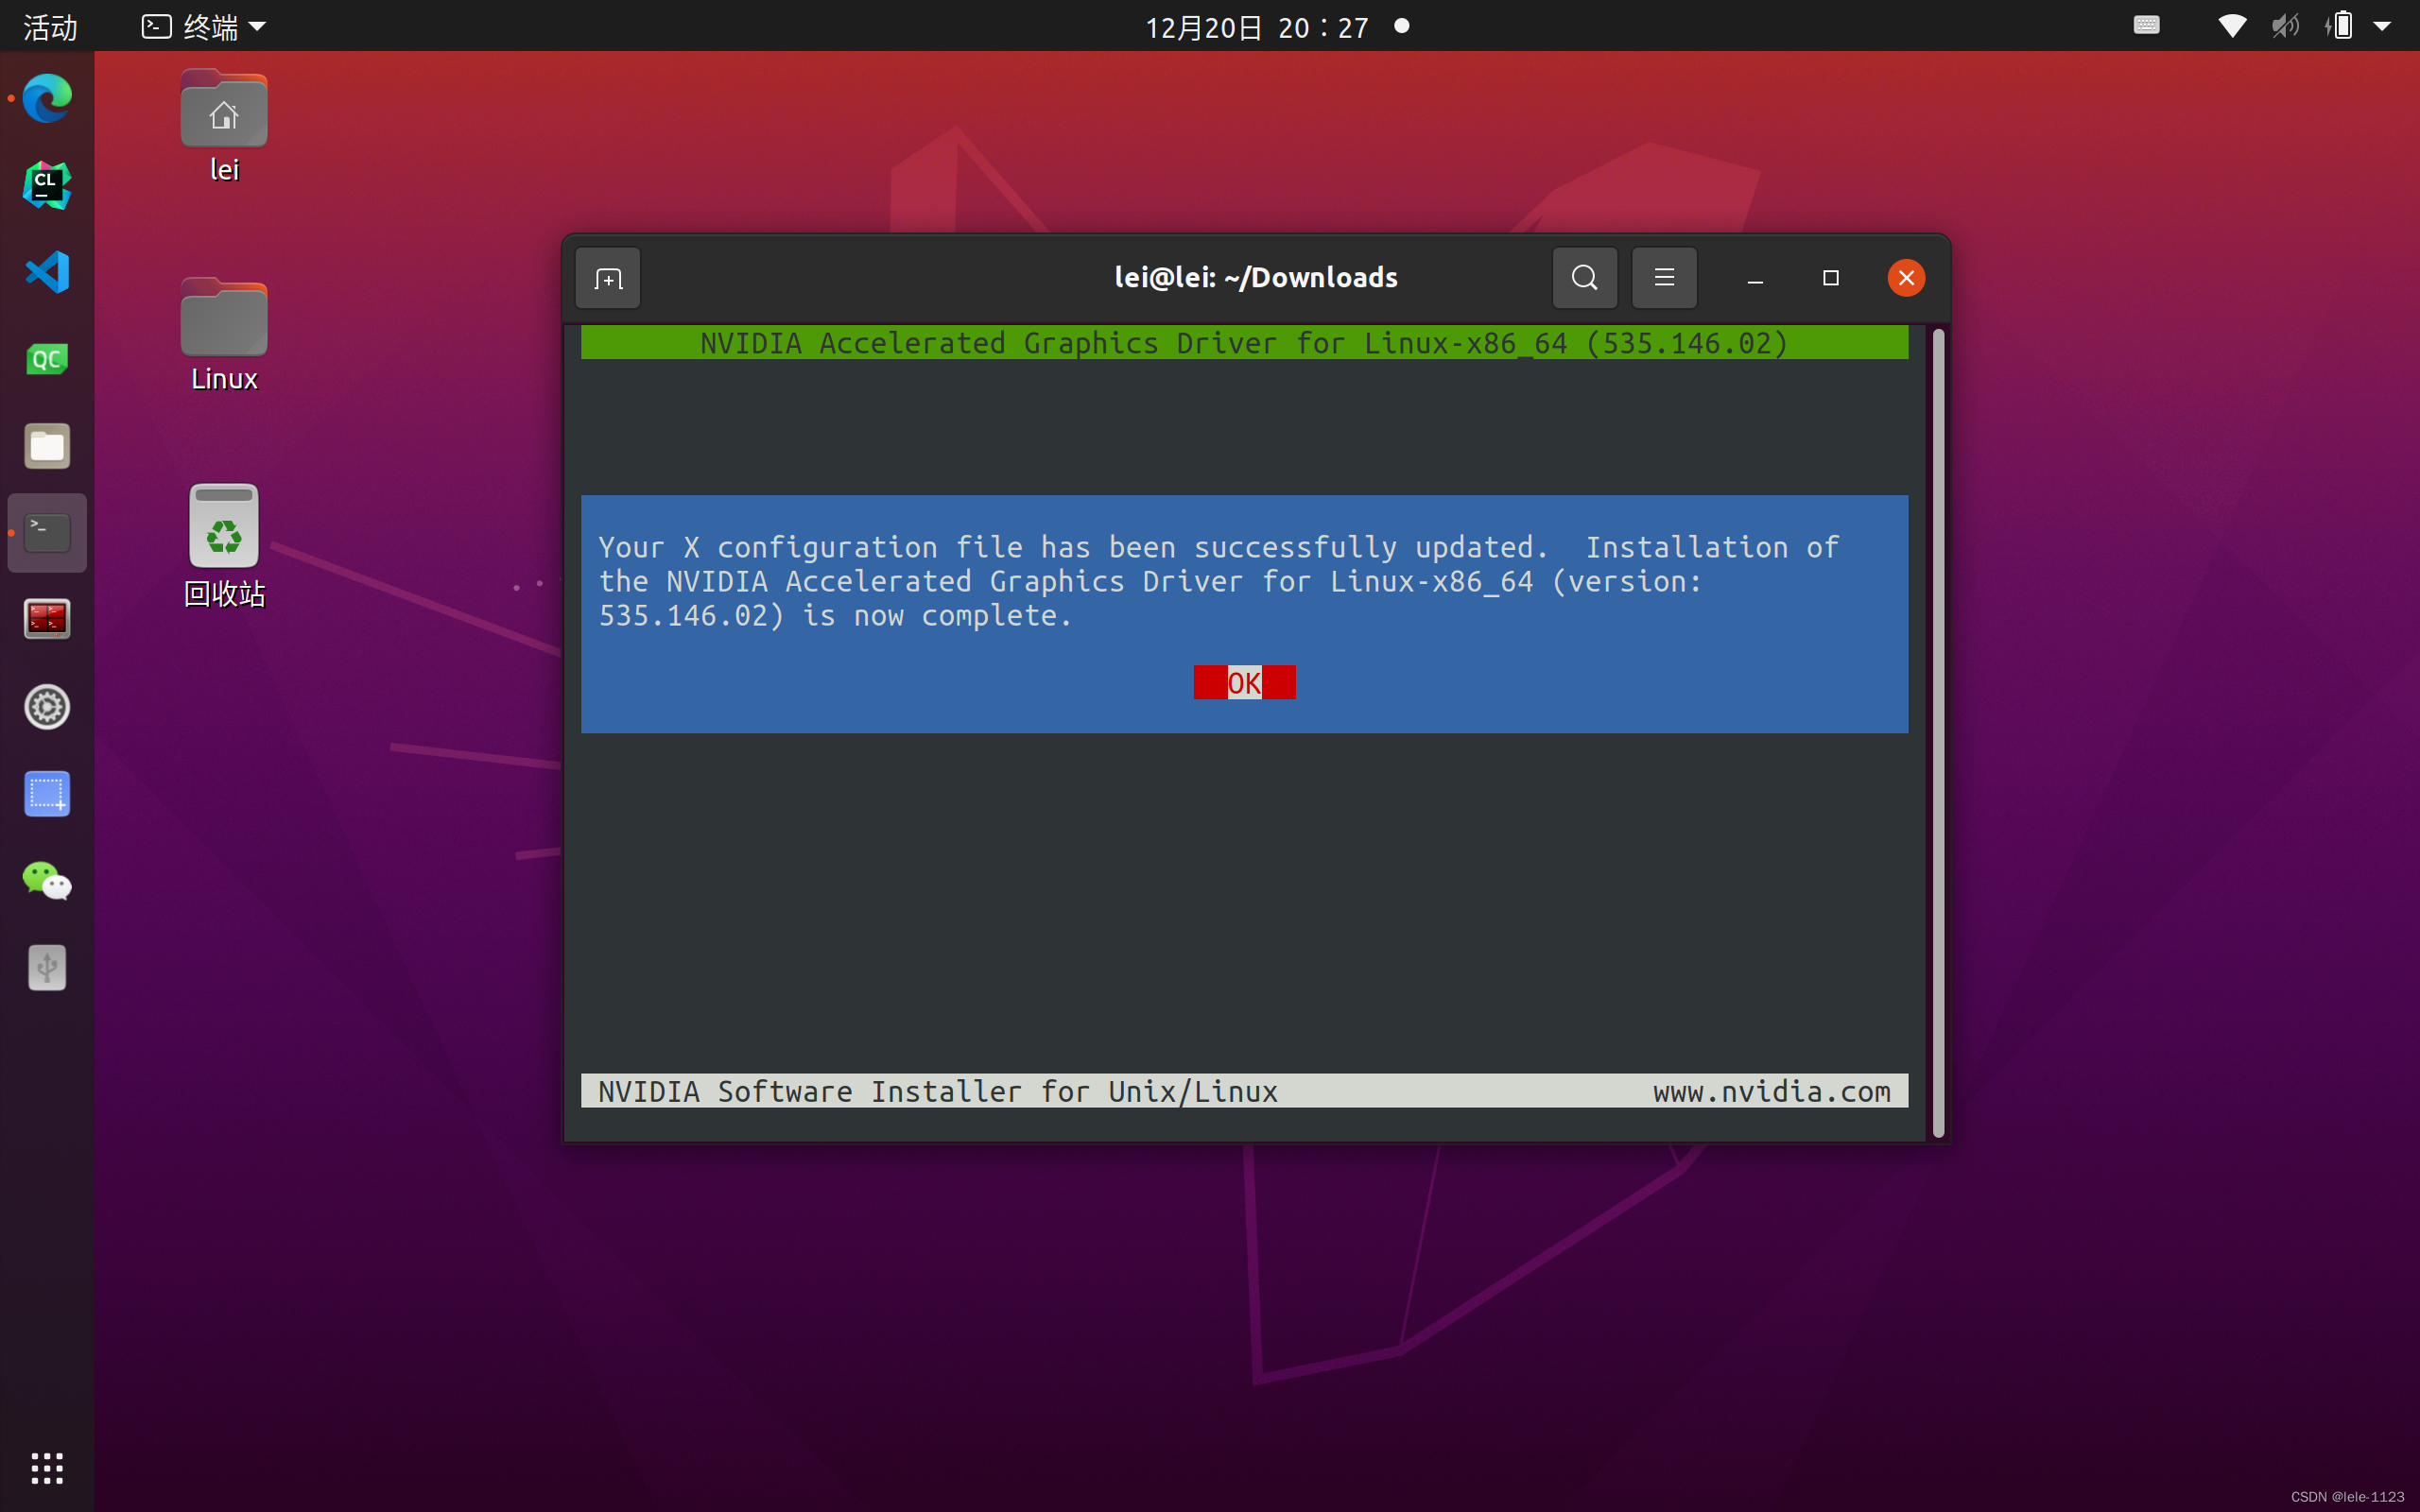
At this point, if Secure Boot mode is not enabled, the driver installation is complete. After rebooting, you can see the graphics card information by running nvidia-smi.
reboot
nvidia-smi
1.5 (Optional) If Secure Boot is enabled, manually add the public key to the system trust list
If the motherboard has Secure Boot enabled, you must register the previously generated public key into the system trust list; otherwise the driver will not work properly.
Step 1: Register the public key
# Go to the directory containing the public key
cd /usr/share/nvidia
# Add the public key to system trust (replace the filename with the actual one)
sudo mokutil --import nvidia-modsign-xxxxxx.derNote: During registration, you will be prompted "input password:". Enter a password (e.g., the digit
0). It will not be displayed. Then confirm the password by entering it again.
Step 2: Reboot and enter the MOK management interface
After executing the above command, reboot the system. It will automatically enter the MOK (Machine Owner Key) management interface.
On the
Perform MOK managementscreen, select Enroll MOK.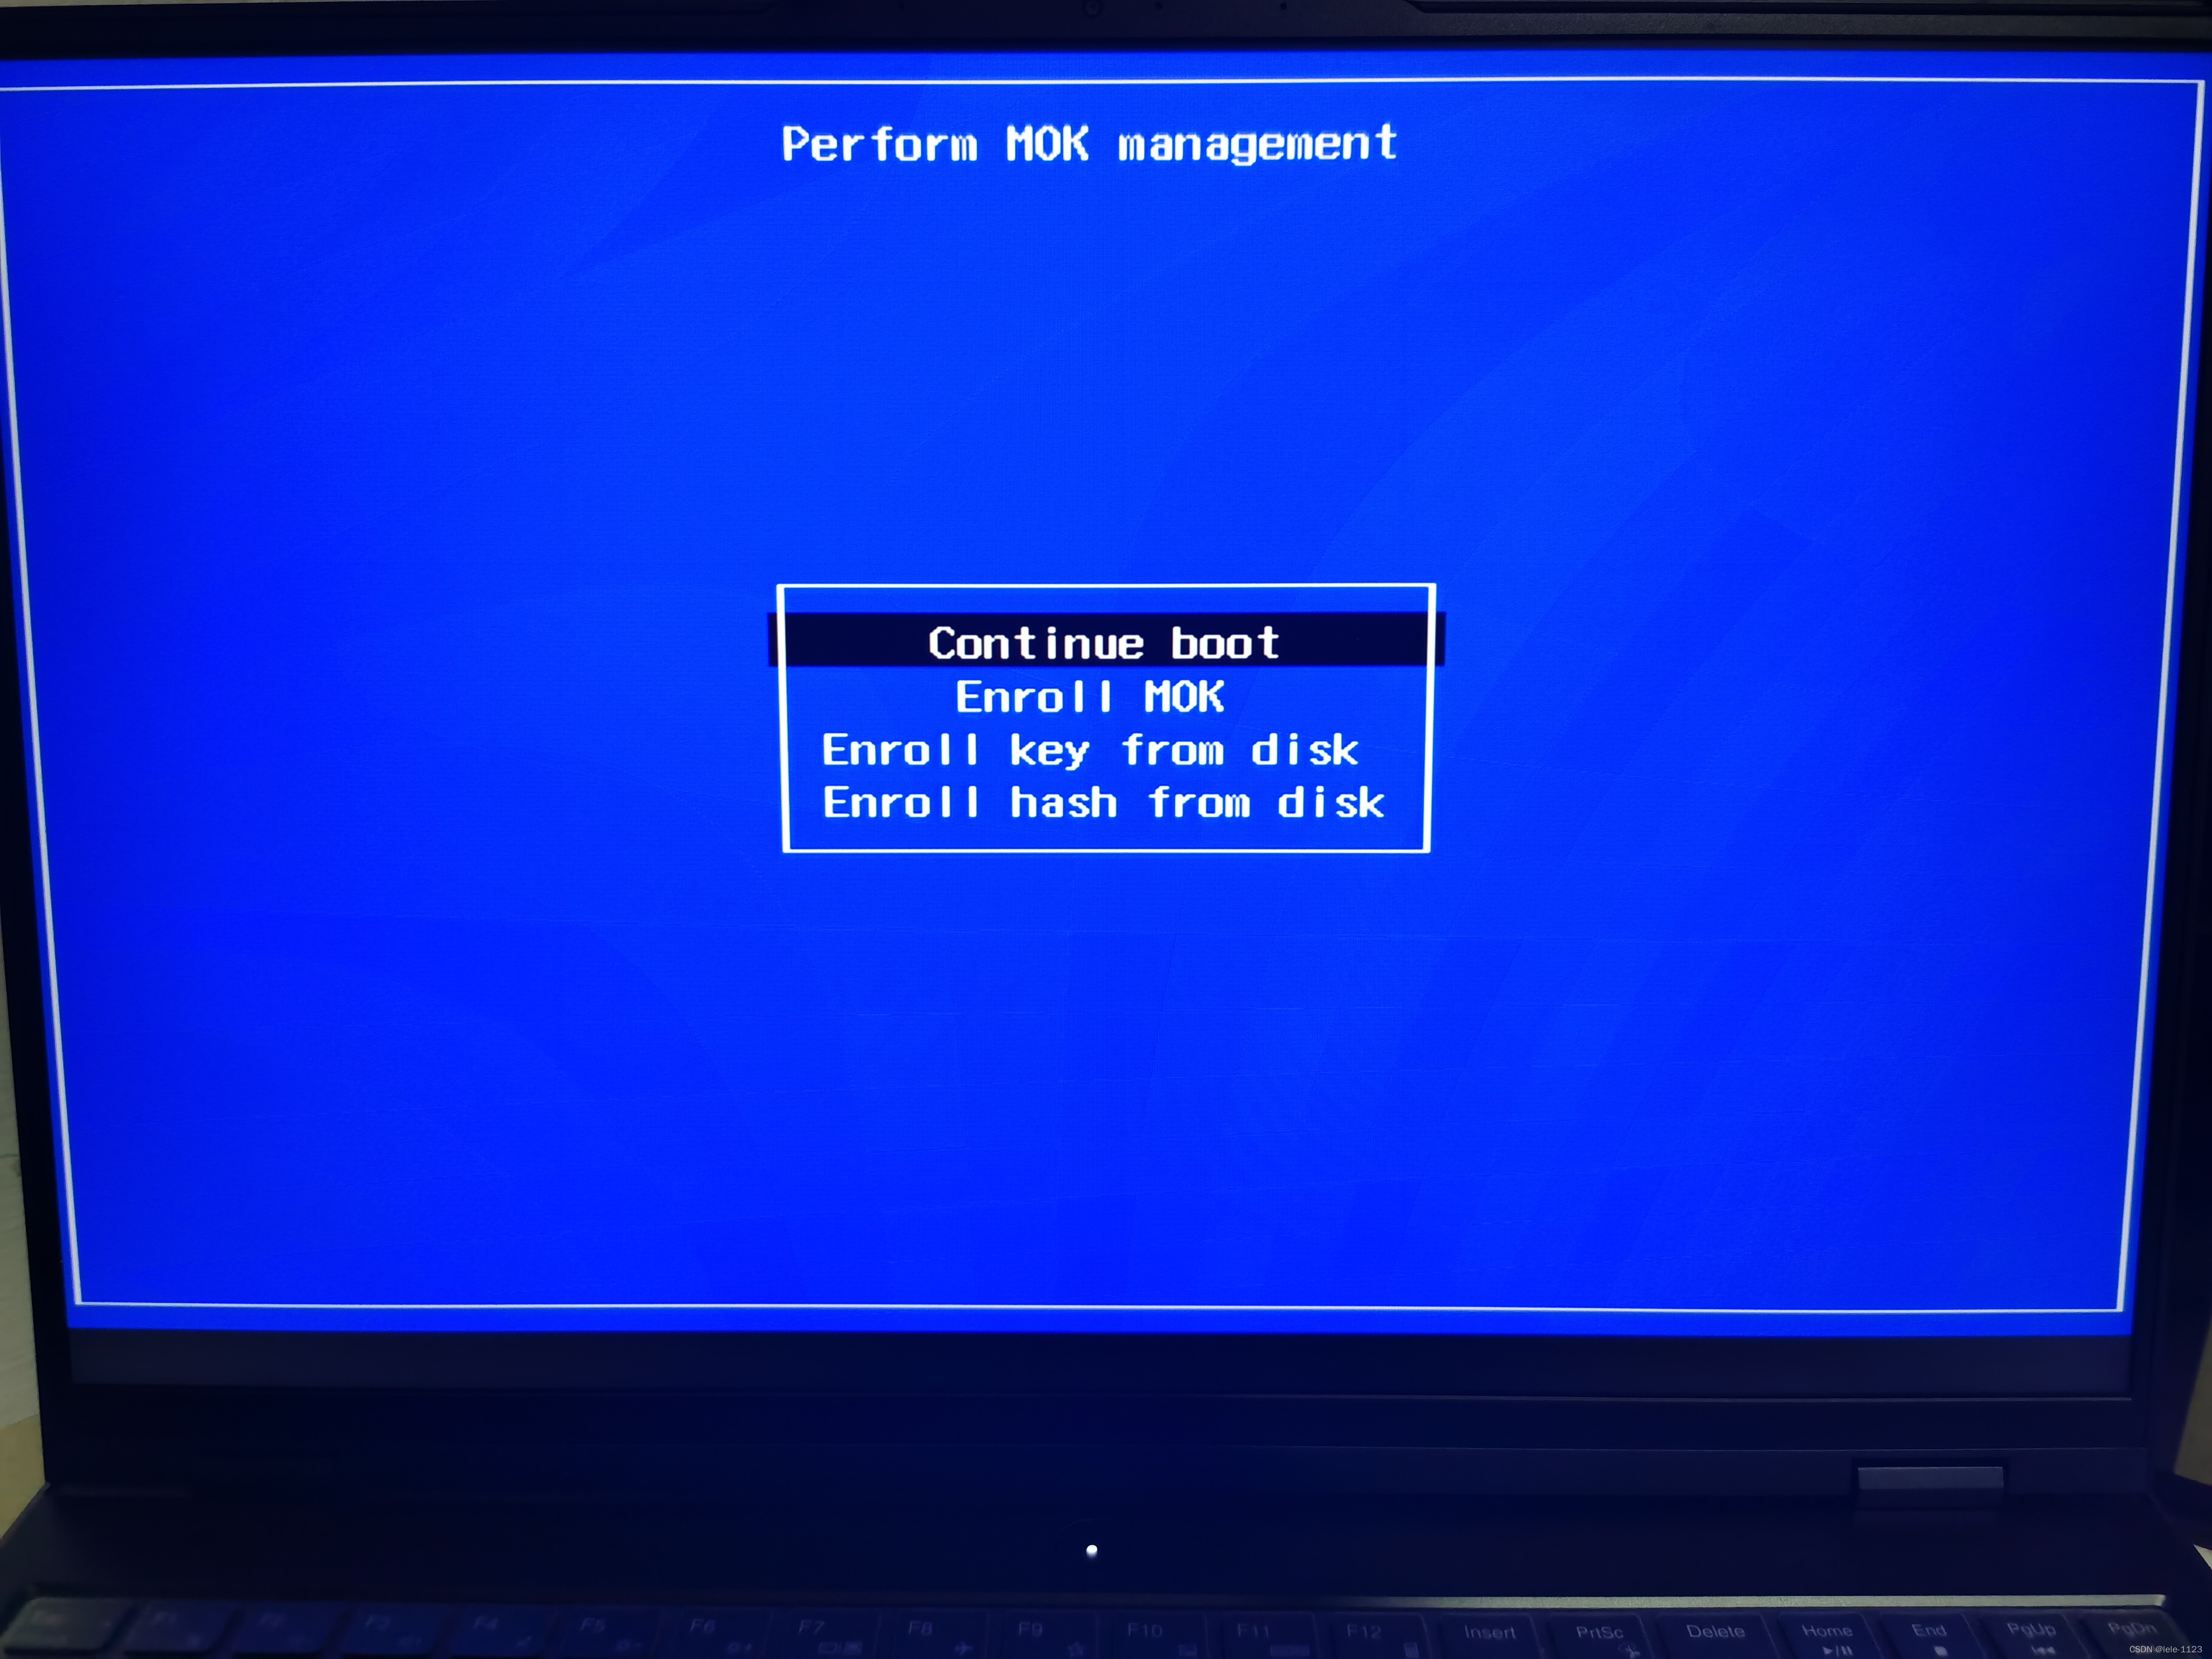
Then select Continue.
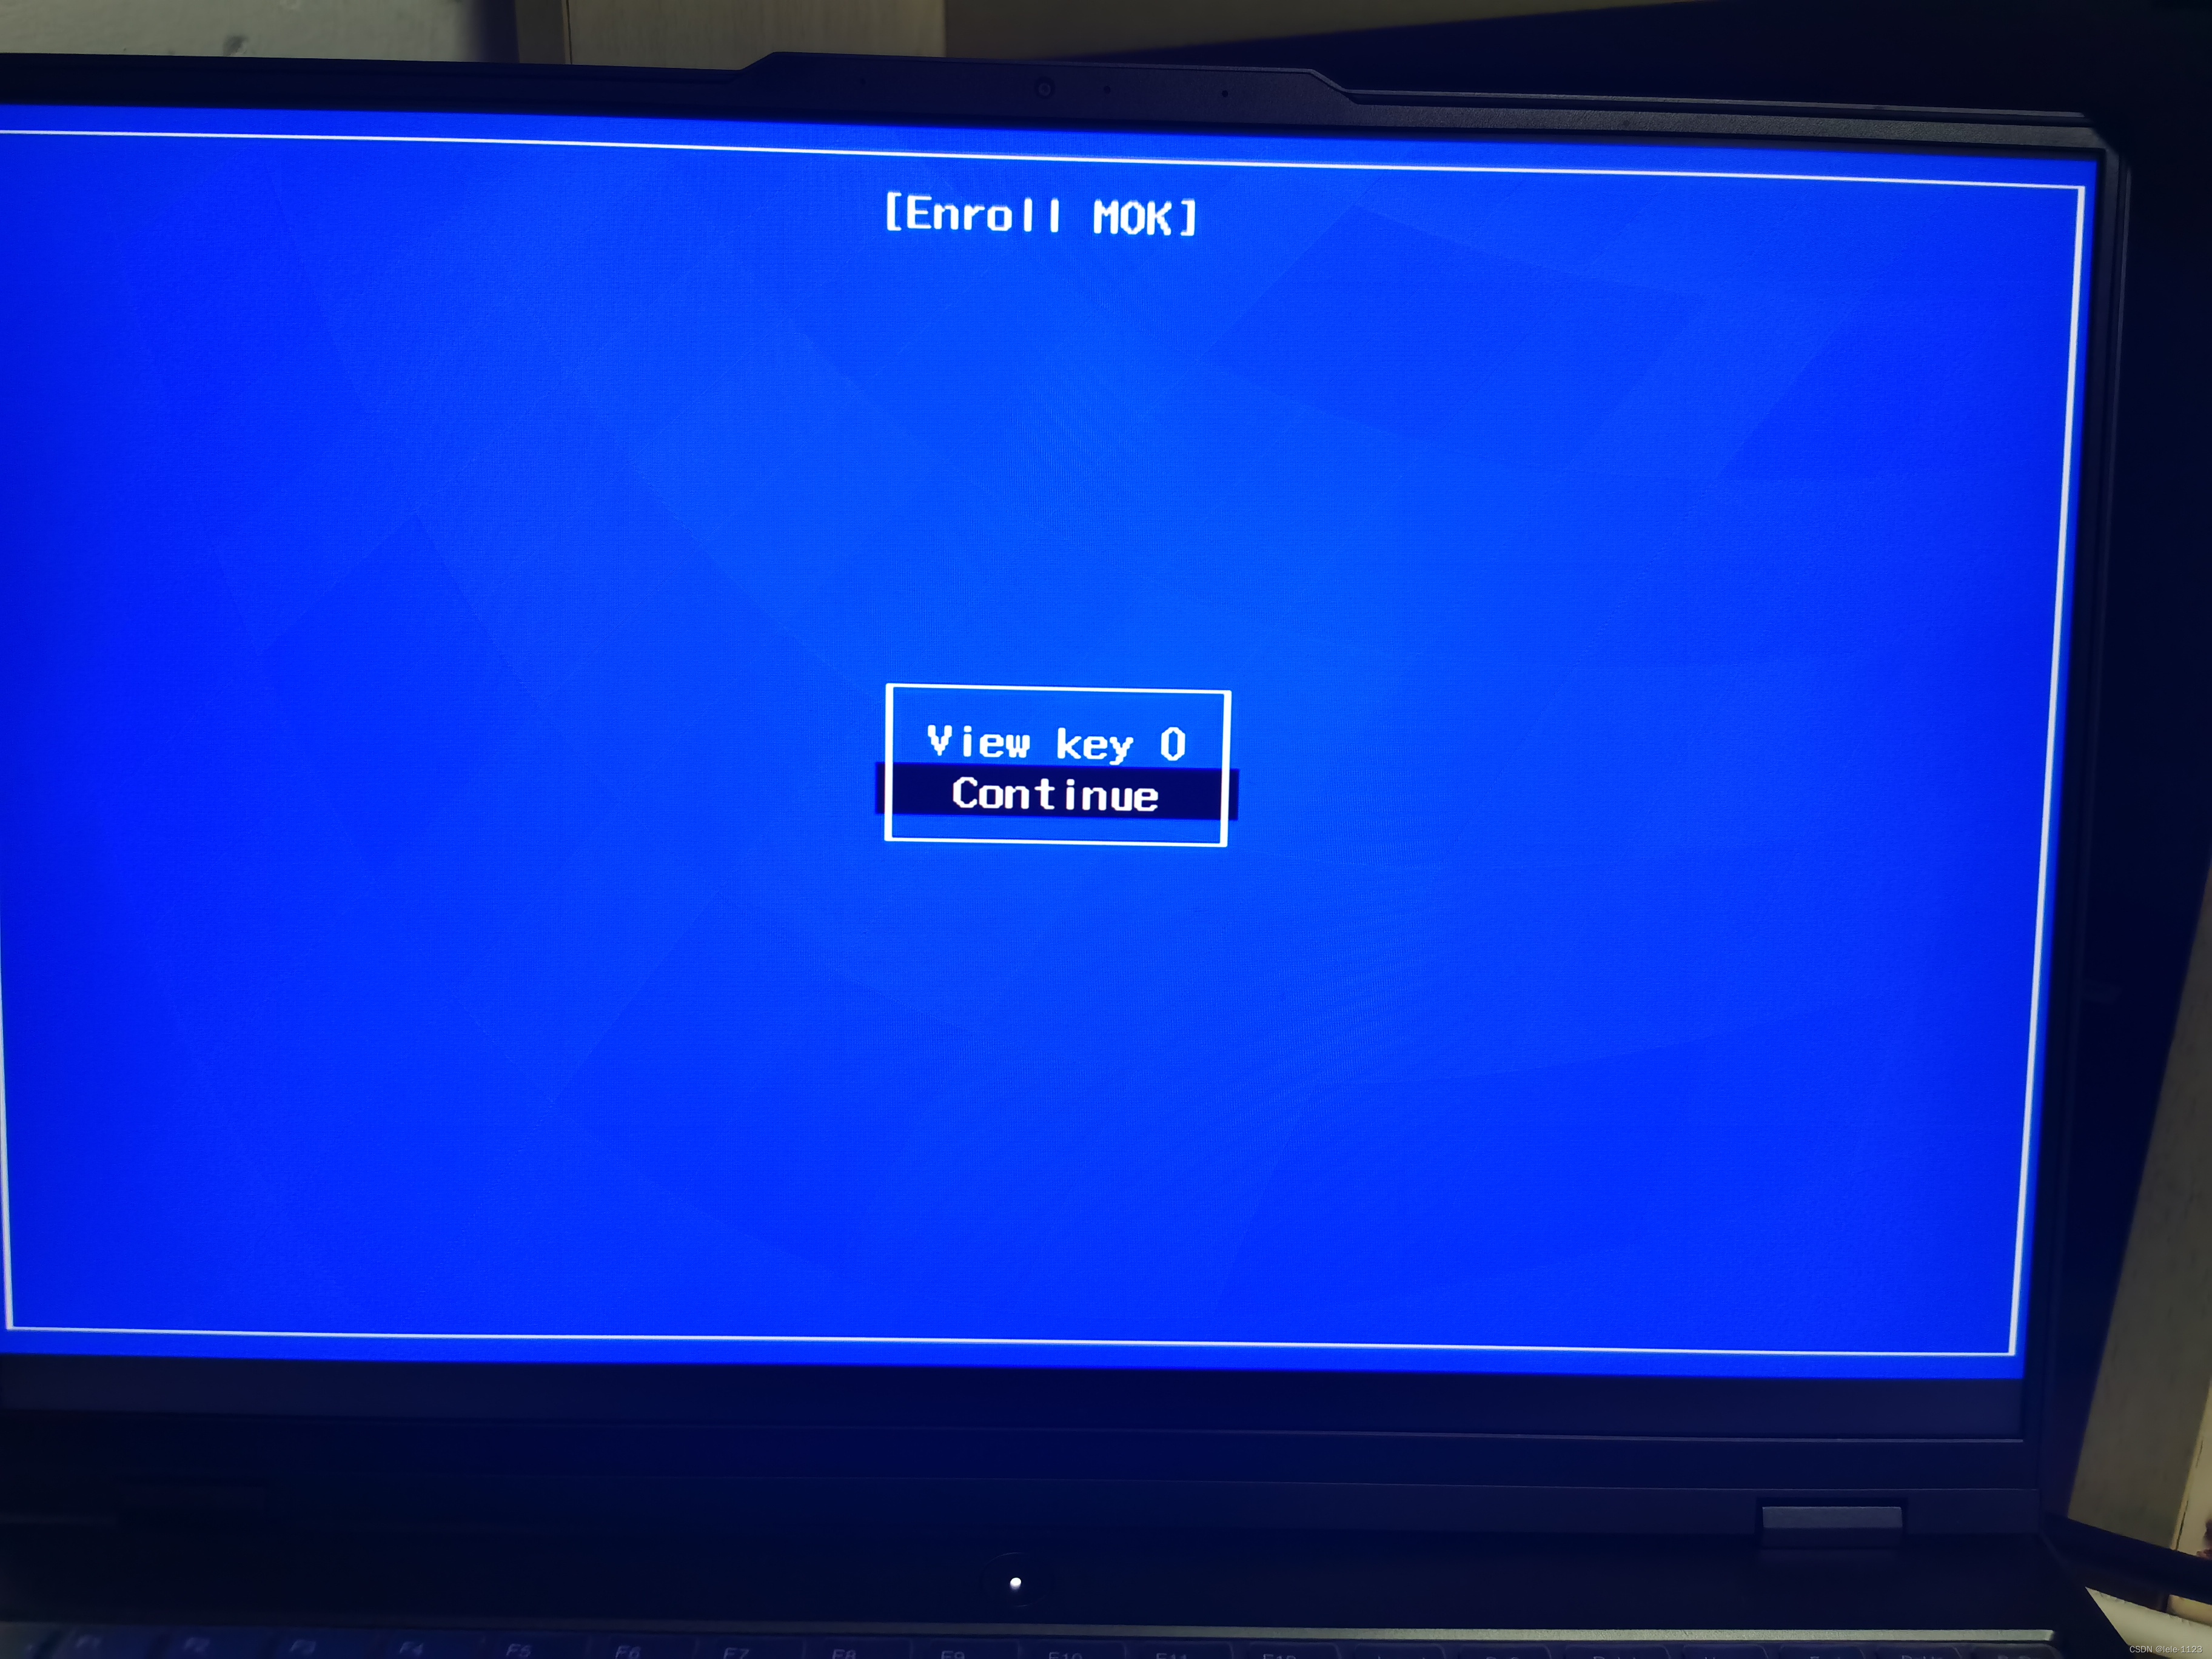
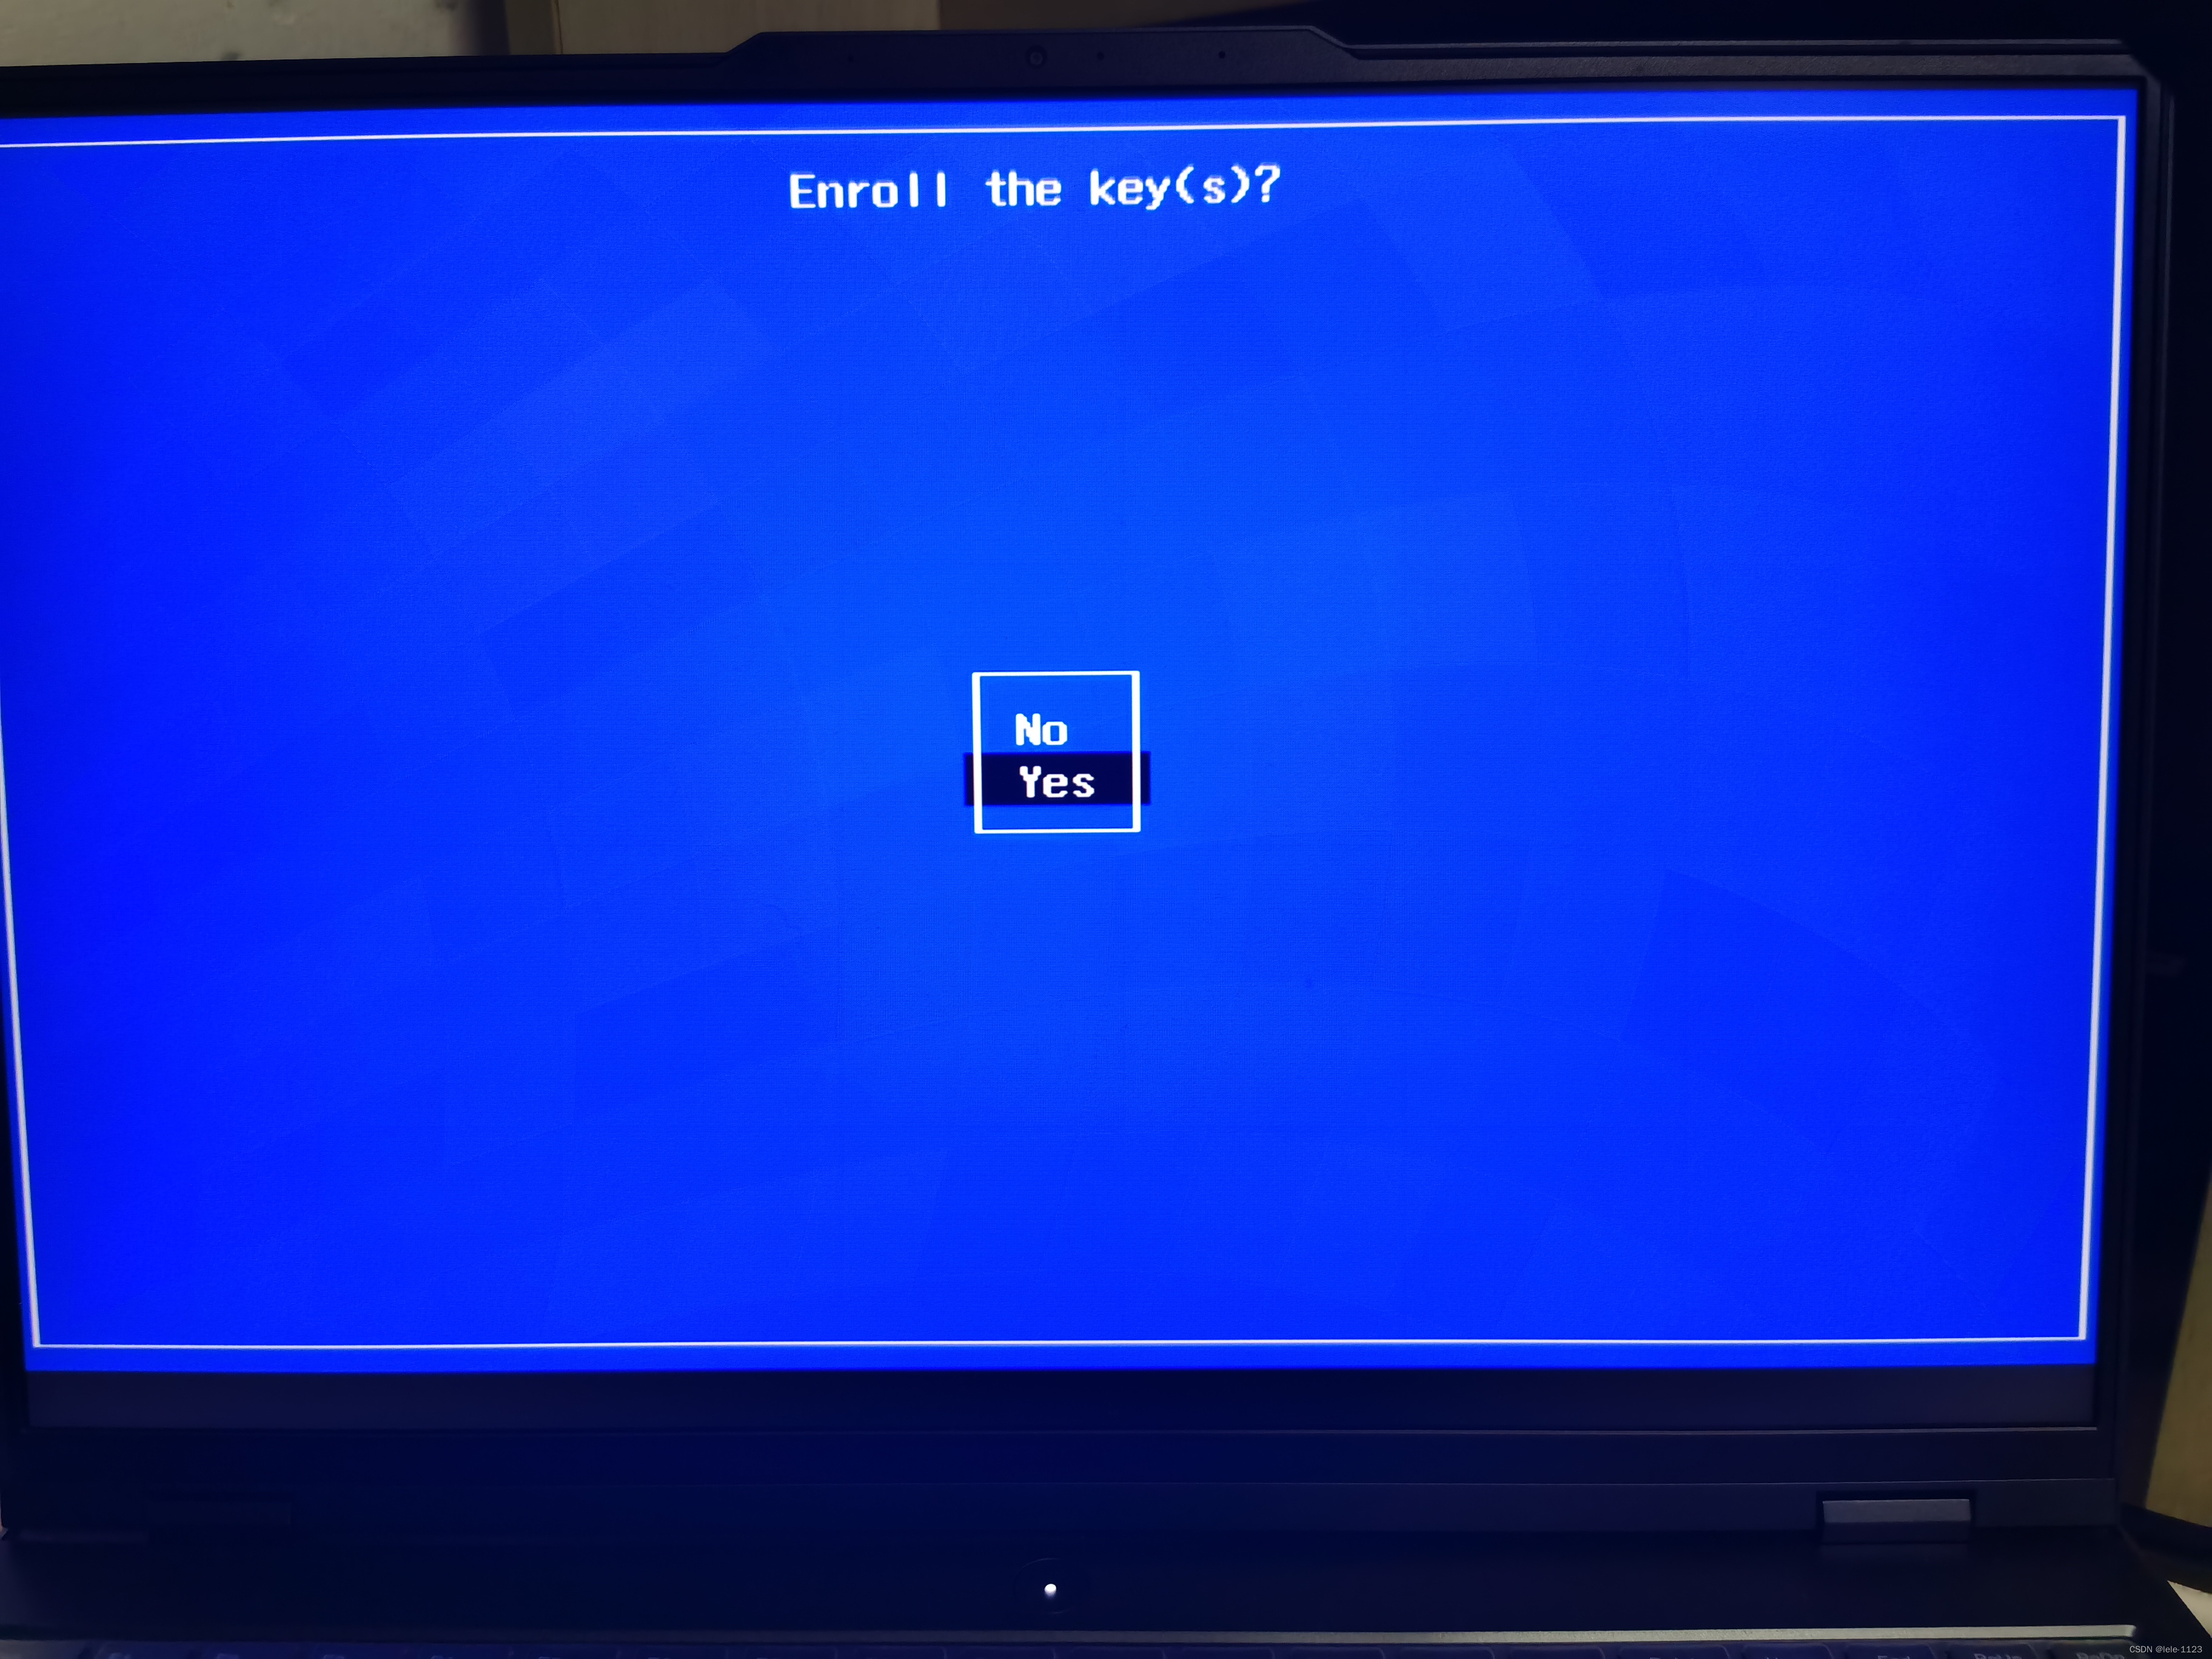
Select Yes (confirm adding the key).
Enter the password you set earlier (e.g.,
0).
Return to the
Perform MOK managementscreen and select Boot to continue booting.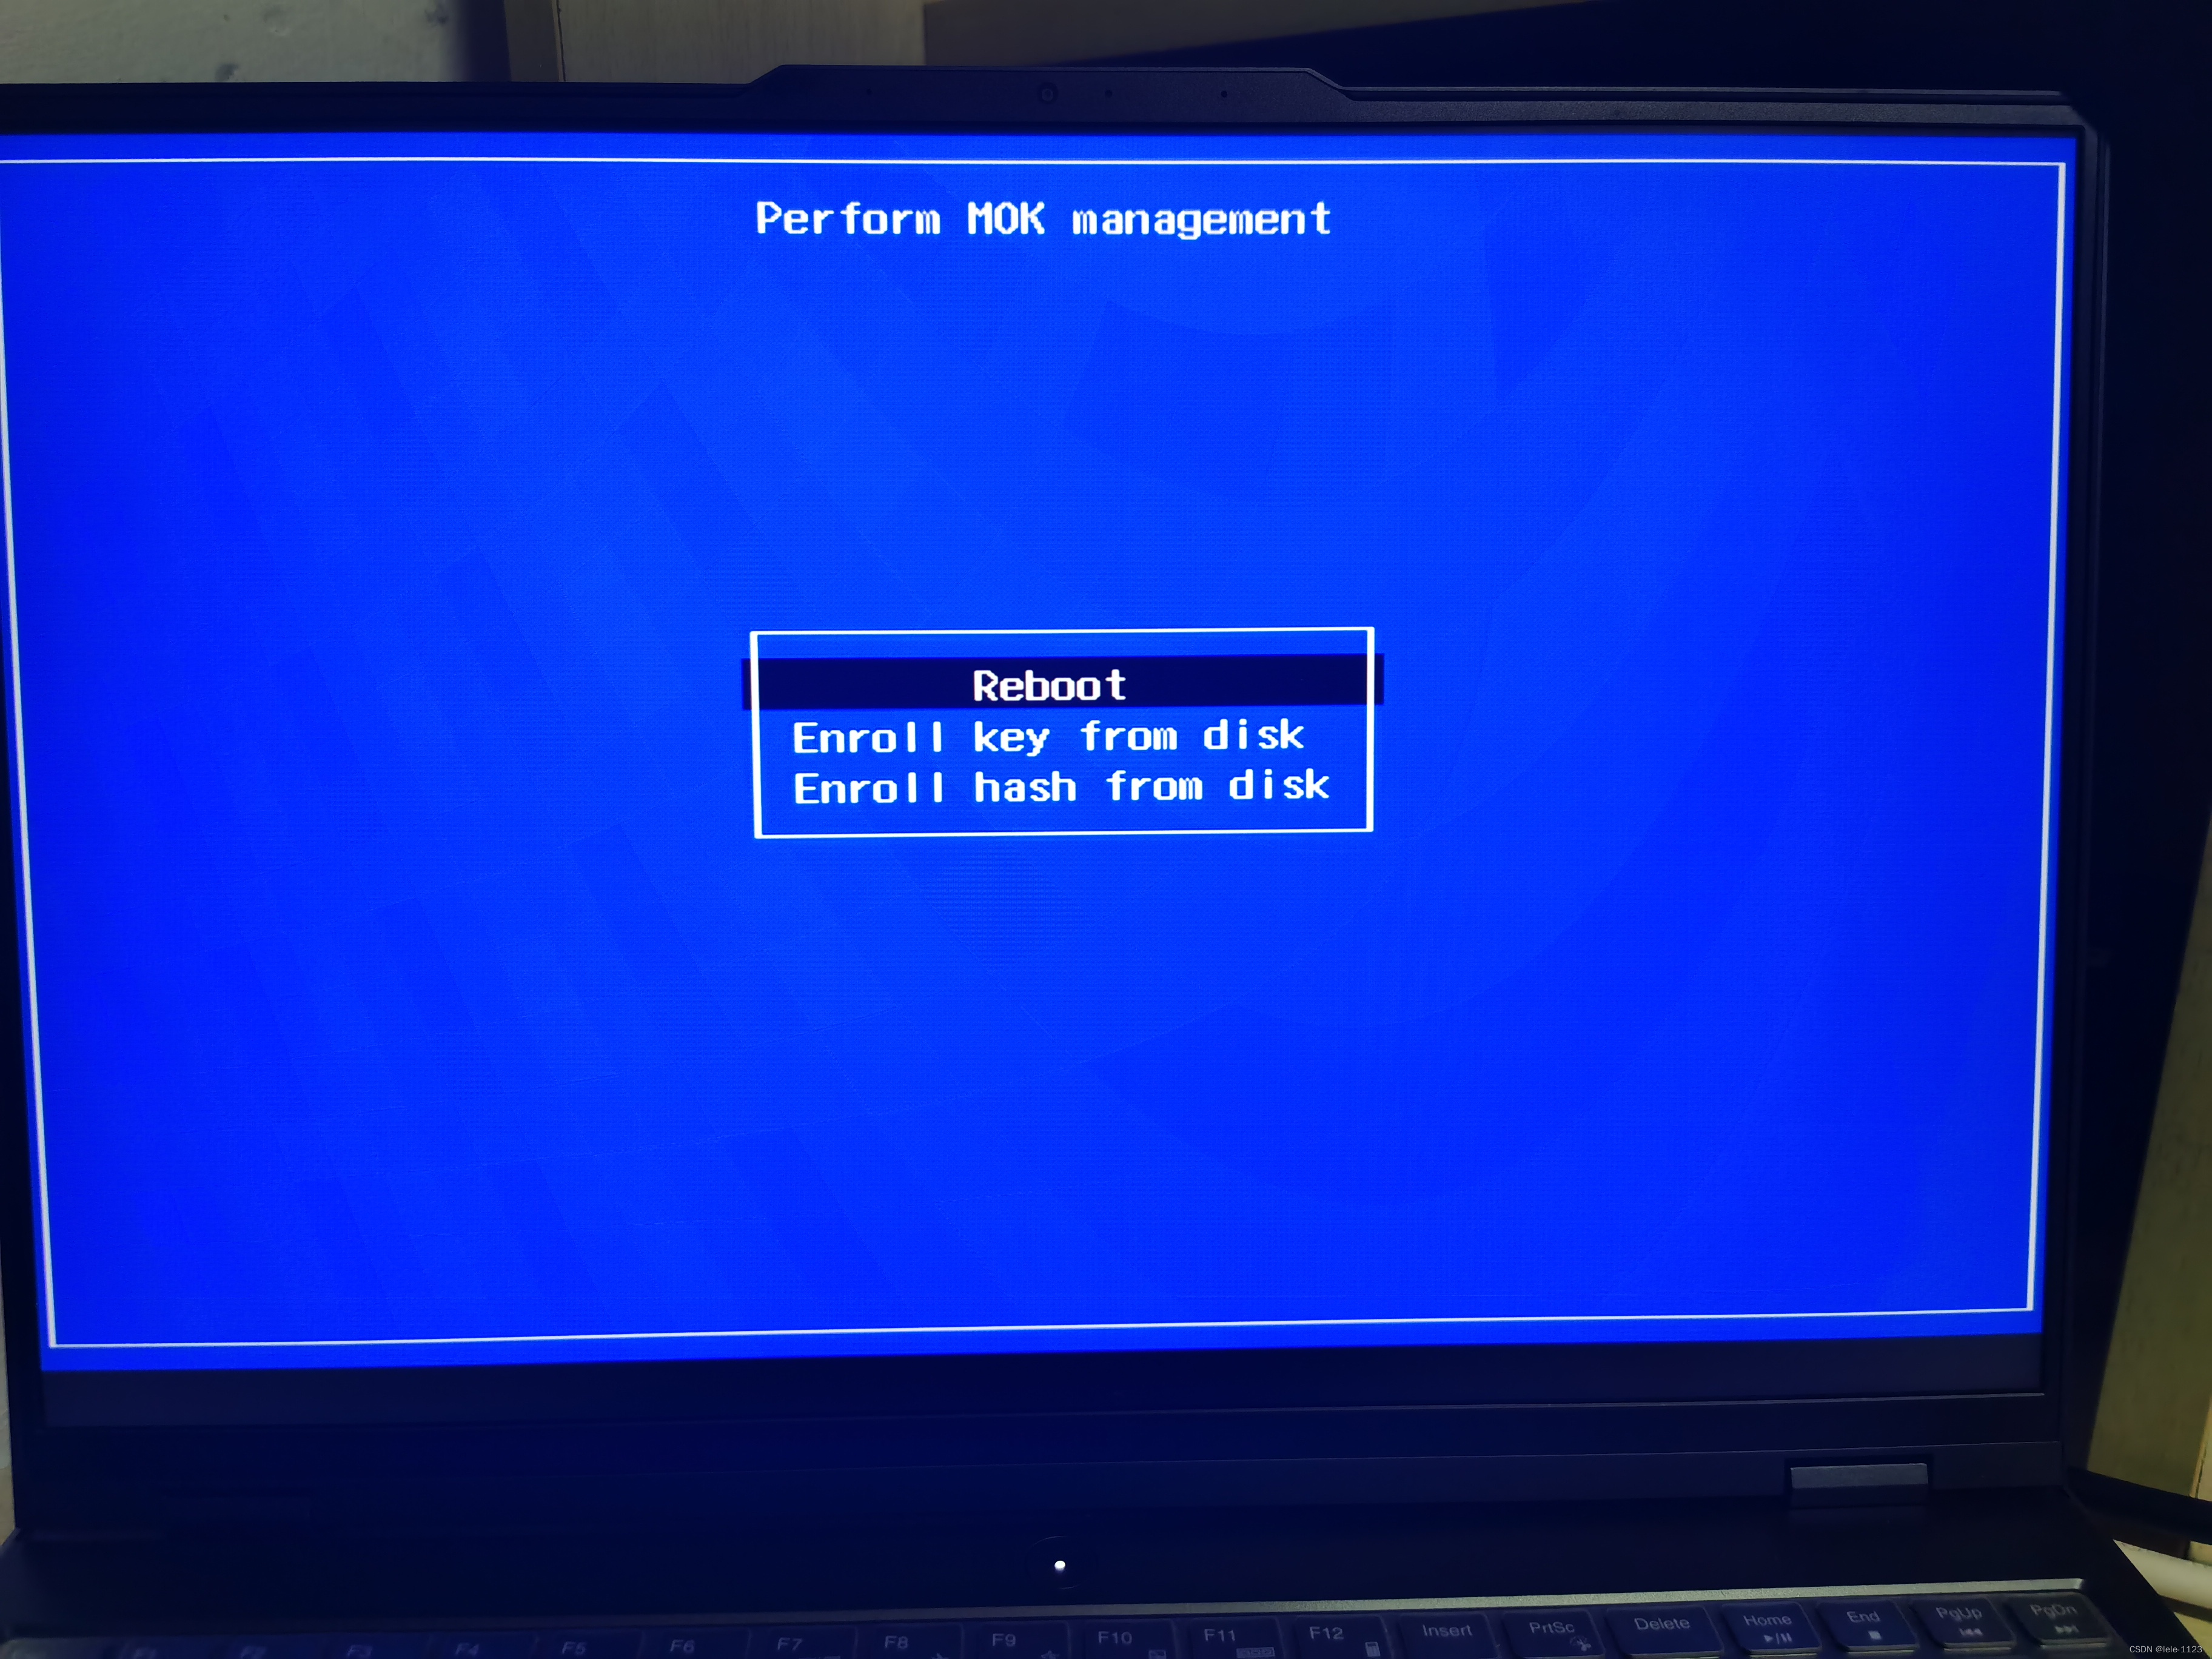
Step 3: Verify the driver
After rebooting, run the following command in the terminal. If the graphics card information appears, the driver has been installed successfully.
nvidia-smiNotes:
- Ensure the system is connected to the internet during the entire process (if dependencies need to be downloaded).
- If upgrading the driver and you already have signing keys, use the existing keys to avoid duplicate registration.
- If the
nvidia-smicommand does not work, check the Secure Boot settings or redo the public key registration steps.